
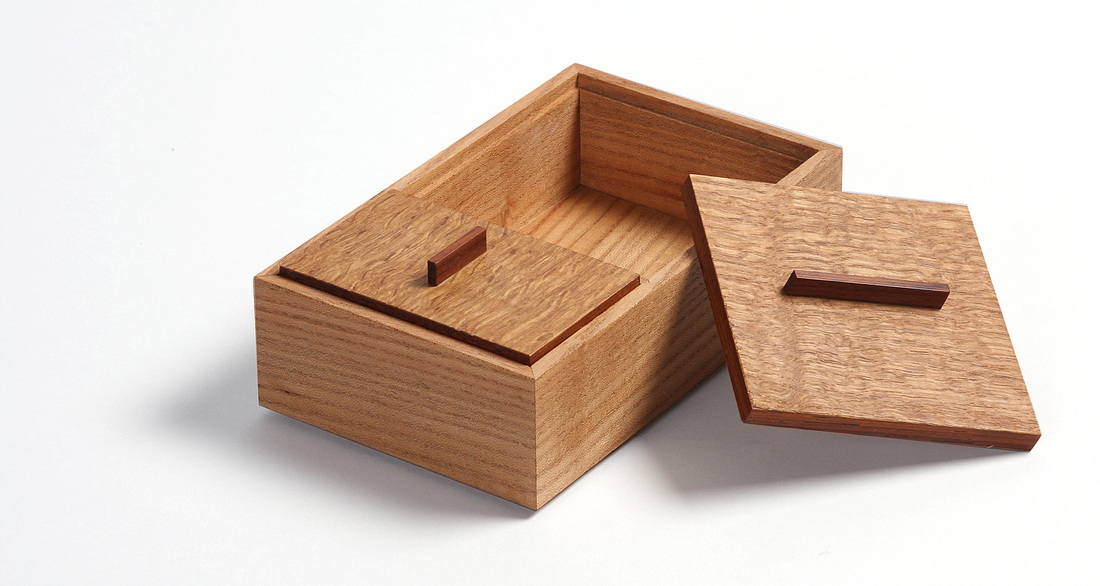
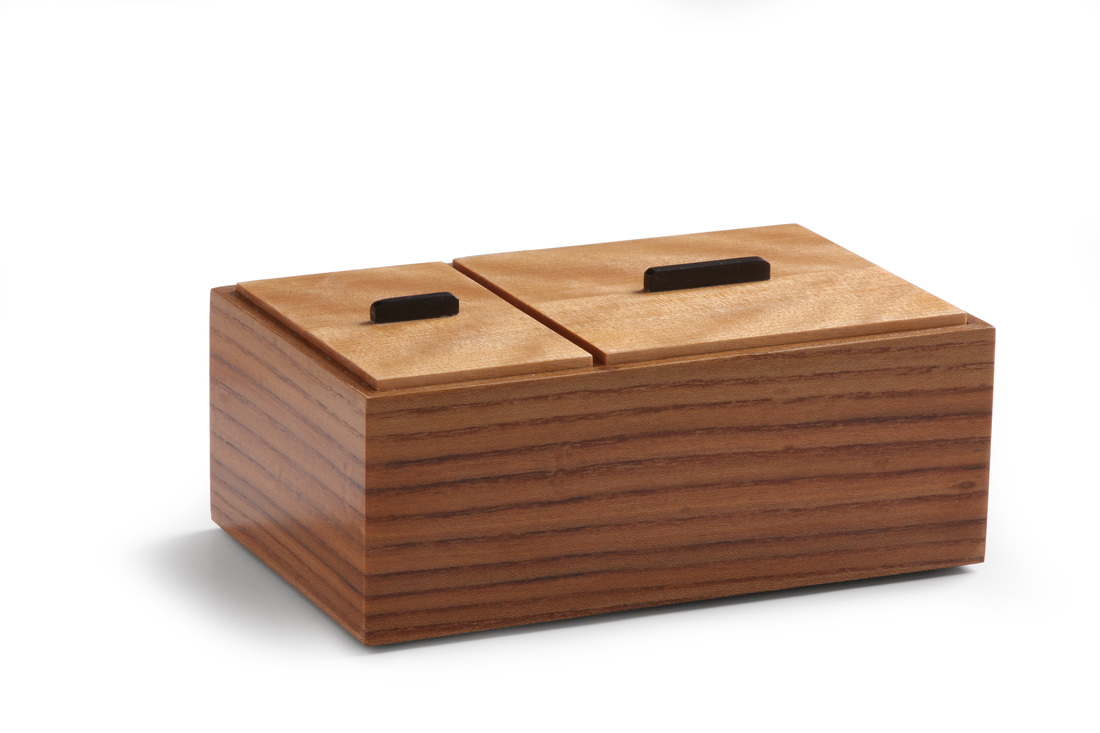
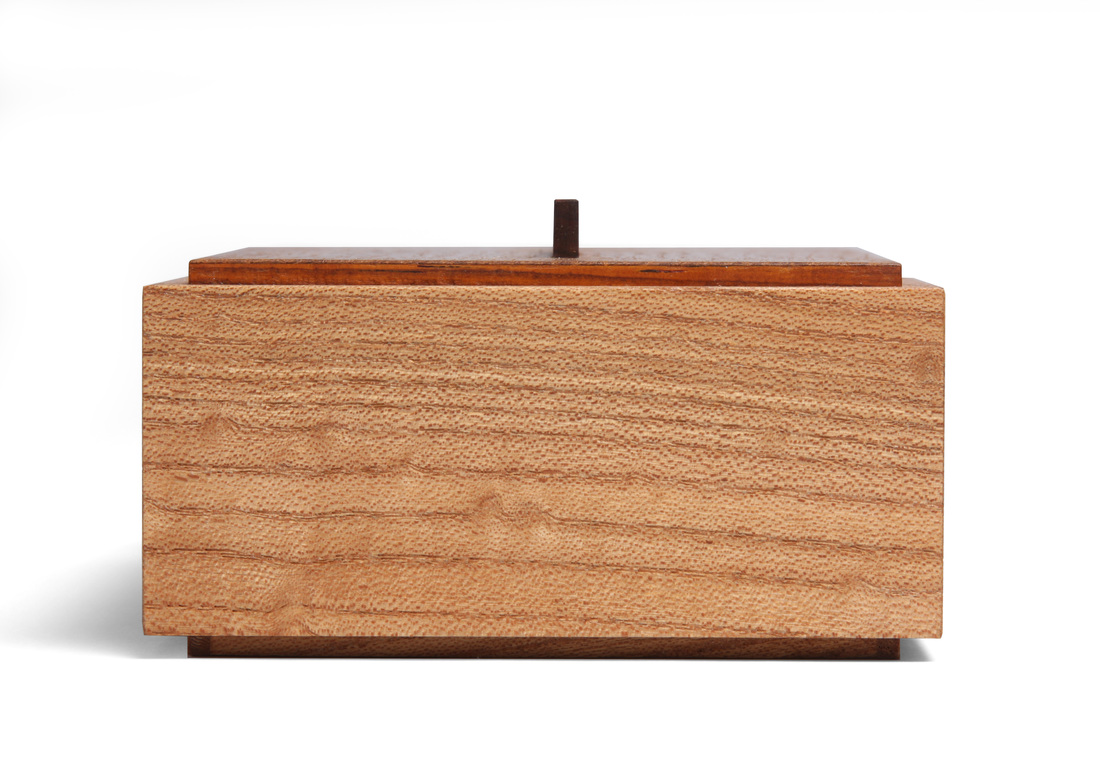
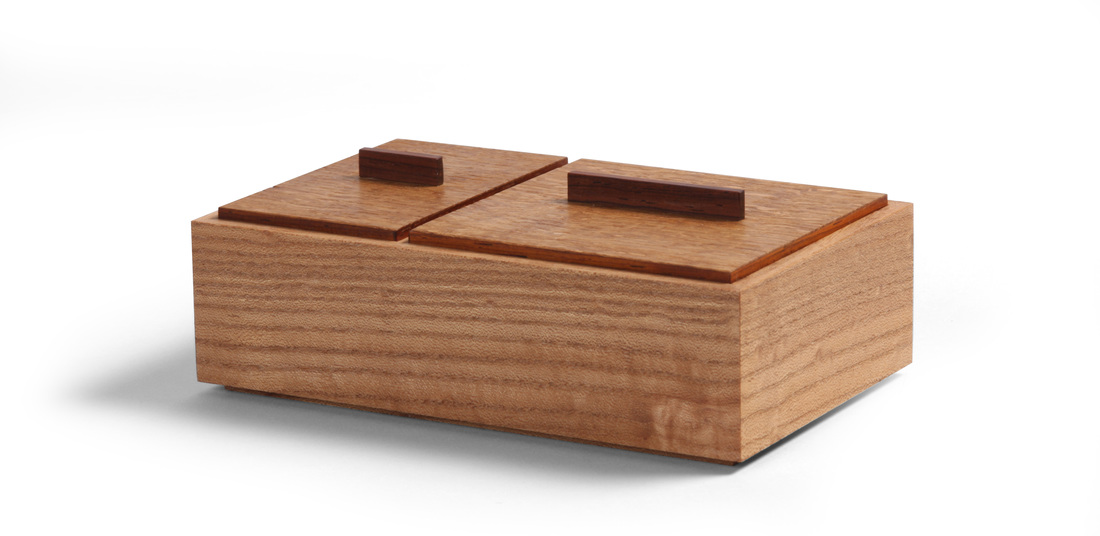
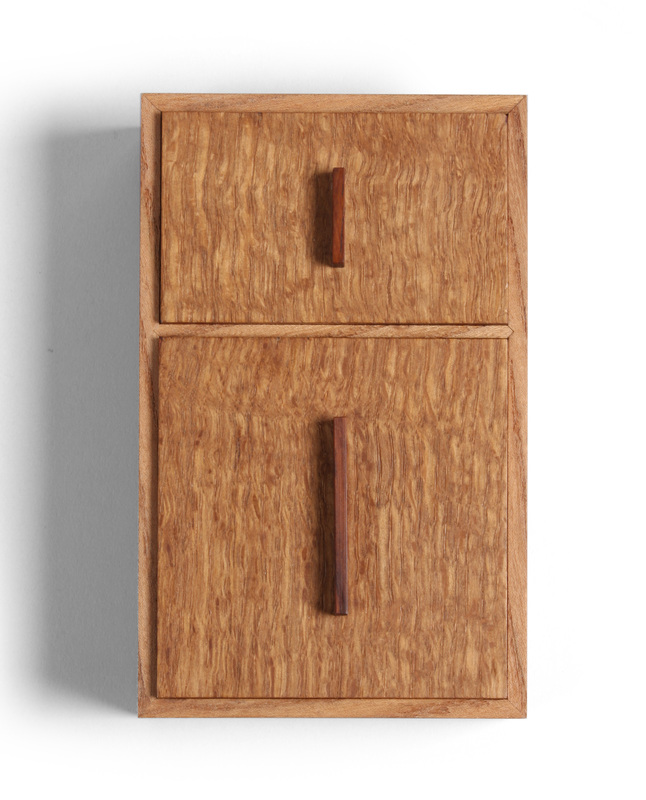
  I've made many boxes like this one before. It's actually my second go at a box I made many years ago (see the box at right). I made that box in one night, using a Phi ruler to determine the box's height, width, and length. I like the width and length, but think it's too tall. I always wanted to go back and make it again, but shorter. That's what box 6 is. I should admit that I'm not positive that the two boxes have the same width and height. The only record I could find of the original box's dimensions was an approximation, so I guessed as best I could. (I gave the box to a family friend not long after I made it, so can't measure it.) I like the proportions of the new box much better. The first box was made from English elm. So is this one. The difference in color between the two is amazing. I really like the color of the first box, but that board is long gone. I also like the English elm I used for this box, especially the random spots of wild grain, but it's not quite as nice. The top of the first box is solid wood. I think it's flame birch. (It came from a very old, but decrepit, table, so I don't know for sure.) The top of this one is plywood banded in cocobolo and then veneered with English brown oak. The lifts are cocobolo. The three woods complement each other very well, I think. And the darker oak works here because the box sides are a light brown. It would not have worked with the elm I used to make the previous box. Box 6 wasn't hard to make, but it was tedious. Both the lids and the bottom involved veneering plywood. The banding on the top is mitered at the corners and getting those miters tight and clean was a slow, shaving at a time process. The bottom involved some tedious labor, too. First I veneered the bottom face. I then did the end banding. After that, it was the front and back. This way, when you look at the bottom from the front, you see what looks like a piece of solid wood. Last came the veneer for the top face. I wanted this to cover the banding, so that when you look at the inside of the box, you don't see any banding. (I should do a blog about box bottoms, right?.) The veneers on the lids are commercial, but think. Those on the bottom are shopsawn. Alright, let's get to the random thoughts.
21 Comments
5/30/2015 01:26:09 am
I just became aware of your 52/52 project this morning via Fine WW magazine and I love it. Your aesthetic is already on sure footing in my opinion, so it'll be great to see where this takes you!
Matt Kenney
5/30/2015 03:39:22 am
Thanks for reading, Douglas. To subscribe to the blog, use the RSS feed button on the right side of the page. You'll need to use a reader like feedly.com.
Douglas Bowker
5/30/2015 06:04:48 am
Thanks!
Jerry Stark
6/3/2015 06:25:55 am
Nice box, even elegant, I would say.
Wade Holloway
6/3/2015 07:44:46 am
Would you mind posting a little more info on these boxes, like are these made with hidden splines in the corners or just glued. Sometimes it is obvious that you have reinforced the corners when the splines show. And I can't tell for sure but it looks like a double 45 degree tenon on the divider of this box. Thanks.
Matt Kenney
6/3/2015 09:05:51 am
Wade,
Wade Holloway
6/3/2015 10:21:07 am
Thanks for the info.
Mike
6/3/2015 05:44:48 pm
Can you explain what keeps the lids from sliding over the (off) center divider? It looks to me like the lids rest in a rabbet whose depth equals the height of the divider. This may not be right, however. Thanks a lot for the thoughts here.
Matt Kenney
6/4/2015 01:04:35 am
Mike,
Mike
6/4/2015 07:08:28 am
Thanks a lot for the reply. I did not realize that the divider had two rabbets. Just out of curiosity, how thick is the divider compared to the thickness of the box pieces?
Eddie
6/4/2015 03:37:00 am
I struggle with mitered corners on my boxes. I just can't seem to dial in the exact 45 degree angles for the perfect fit. Is there a secret? I've made a lot of boxes (many from Doug Stowe's books) and have pretty much given up on using mitered corners. Mostly, I use finger joints or dovetails now.
Matt Kenney
6/4/2015 04:39:54 am
I cut miters two ways. First, at the tablesaw. I also use a shooting board. I think you've given me two good topics for future blogs. In brief, I can say this. Accurate miters at the tablesaw start long before you turn on the saw. For example, when you tilt the blade, it must be parallel to the saw table. Also, the miter slot must be parallel to the blade. When you tilt the blade, use the head of a very good combo square to set it to 45 degrees. Your sled must be made accurately, too. All of this sounds like a lot to deal with, but if you handle each one in turn, then you'l be OK. All that said, perhaps I should do a blog about tablesaw miters and one about shooting board miters. I'll see if I can't fit them into the schedule soon.
Eddie
6/4/2015 08:44:27 am
I look forward to your blogs (what a word!) about miters. I'm thinking that the blade not being square to the saw table could definitely be the problem. It's the only thing I haven't spent hours fiddling with. I think my sled is as good as I can get it. And I swear I measure twice (more actually) and cut once. 1/6/2019 10:01:27 pm
Hey, love the book. It's well timed as I'm working on my own series of box projects and I'm trying to get good at cutting miters for that purpose. No shooting board so I'm doing it on the TS. That post about your sled would be really sweet if you can cram it into your schedule somewhere. Until then, I'm trying to piece it together from what I can see on FWW and the brief blurb in your book. Love the book, by the by.
Jerry Stark
6/4/2015 05:00:16 am
Matt,
Billy Davis
6/4/2015 11:26:41 am
Once again, elegance portrayed by simplicity. I like the idea of revisiting older designs for tweaking purposes. I think something really interesting can develop.
Matthew Kenney
6/5/2015 11:47:29 pm
The divider is 1/4 in. thick, with 1/16 in. Rabbets on each side. So, the center strip that's as tall as the sides is 1/8 in. thick. The sides are 1/4 in. thick, too, with 1/16 in. rabbets.
Howard Trott
12/19/2015 06:26:50 pm
Hey Matthew
Matt Kenney
12/21/2015 11:29:08 am
Howard,
Willaim Latta
5/7/2016 04:26:03 pm
Wow. I have dabbled in box making over the last few years. Yours are something to which I aspire. Love them all.
Dan Li
12/7/2016 01:28:17 pm
Love the subtlety embedded in all these details. Great job, Matt! Your comment will be posted after it is approved.
Leave a Reply. |
AuthorI love furniture design, and smart techniques. This blog is about both. Archives
August 2020
Categories |
 RSS Feed