
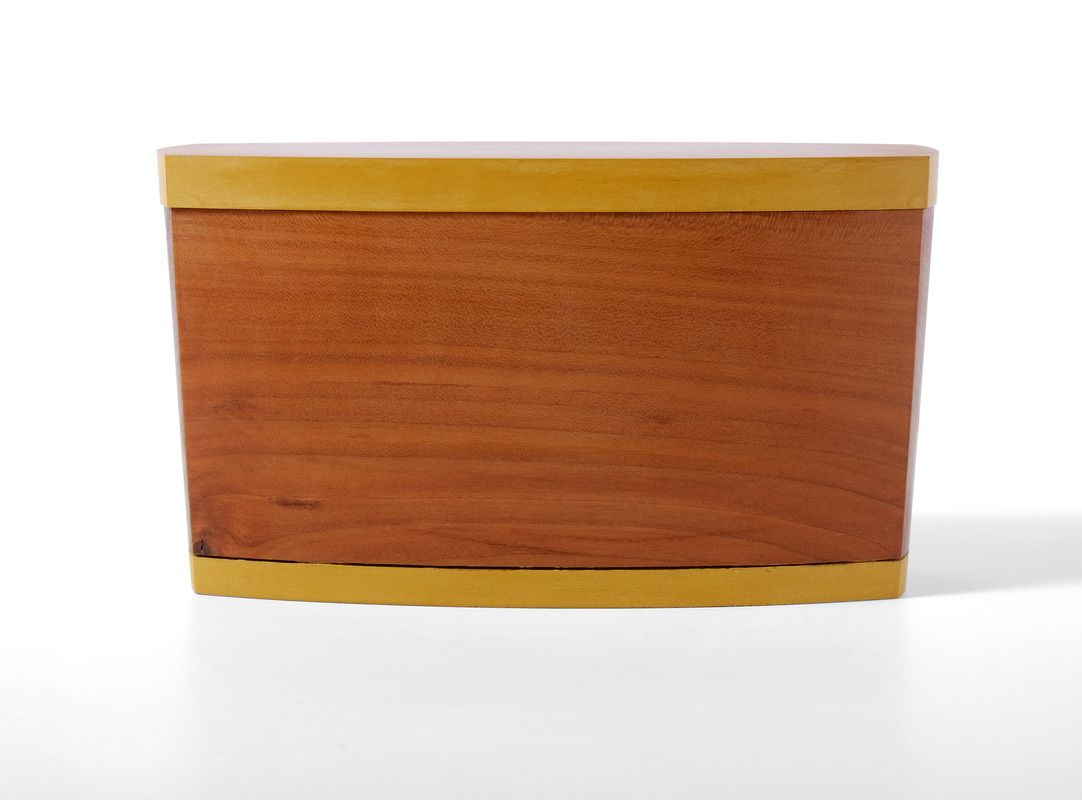
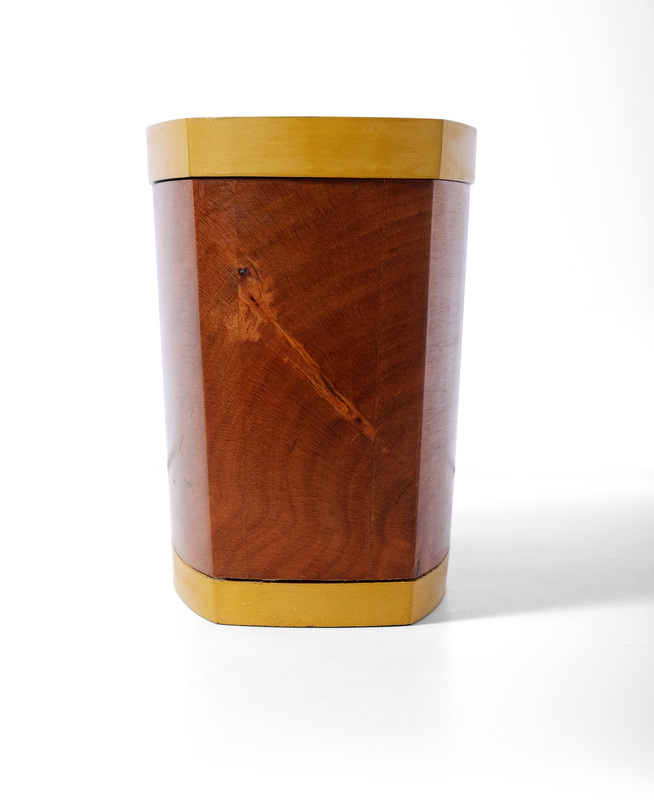
  Here's another bandsawn box. The design is the same as box 42, but this one is larger and made from cherry. I like it better. Here's why. Because the box is taller, the sides appear to angle out more. They don't (it's the same angle on both boxes), but they appear to, and that's cool. Also, cherry—especially this particular piece of cherry—looks much better with marigold yellow milk paint than ash does. The proportions of this box are more elegant, I think. But then there is also something about this box that I can't quite put my finger on. It simply strikes me as more appealing. It has something to do with the colors. The cherry, which is finished in a very light cut of shellac that barely affected its color, is so warm. It's the deep, rich, earthy red of aged cherry, but there is a hint of honey to hit. And not just the color of honey, but the chatoyance of honey, too. Paired with the yellow milk paint, it's irresistible. Oh, now I'm getting closer to what pleases me about this box. You see, I'm not talking about how it was made, but only about how it makes me feel. It's beautiful. It truly is. Everything else fades away. And that's what I strive for when making any piece of furniture or box. I want to look at it, to feel it's beauty and not think a lick about all the hard work, all the technique, the skill, and the knowledge that went into it. I strive for a purely emotional response. I want to speak to that part of us that feels beauty. When that happens I believe I've done something worthwhile, that I've made something that transcends the maker. It's a rare and perhaps fleeting accomplishment. (It is also possible—highly likely, even—that I'm just a self-absorbed fool taken with his own mediocrity.) I don't have anything else to say about this one, so let's get to some random goodness.
2 Comments
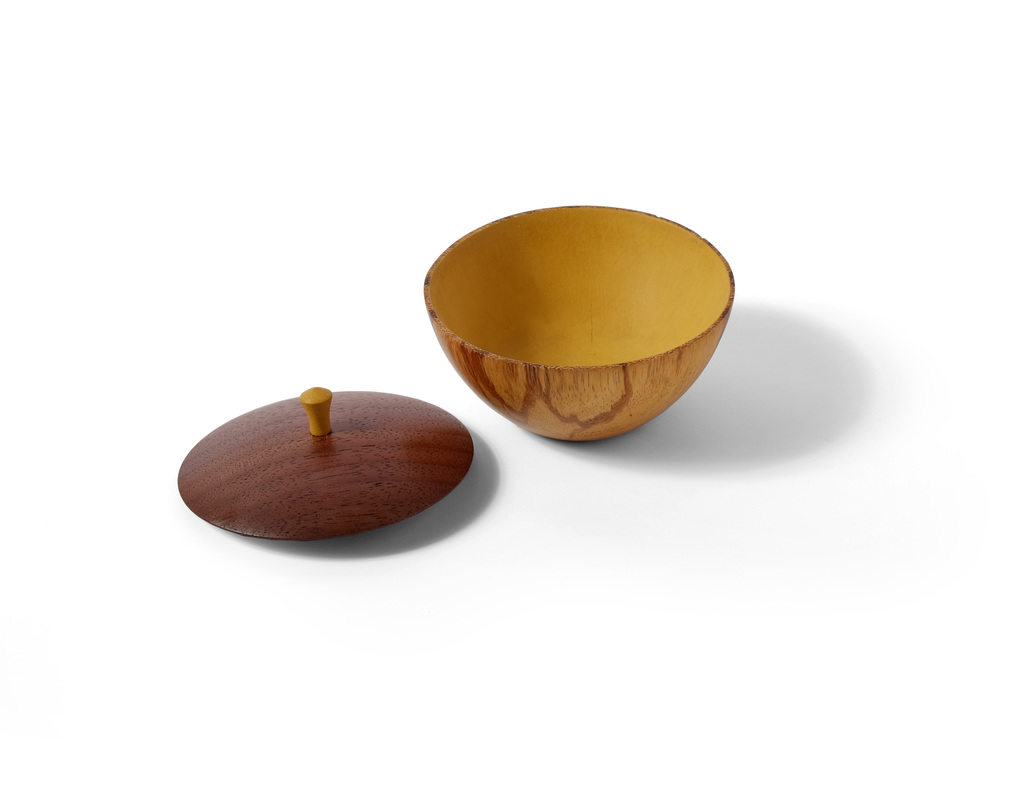
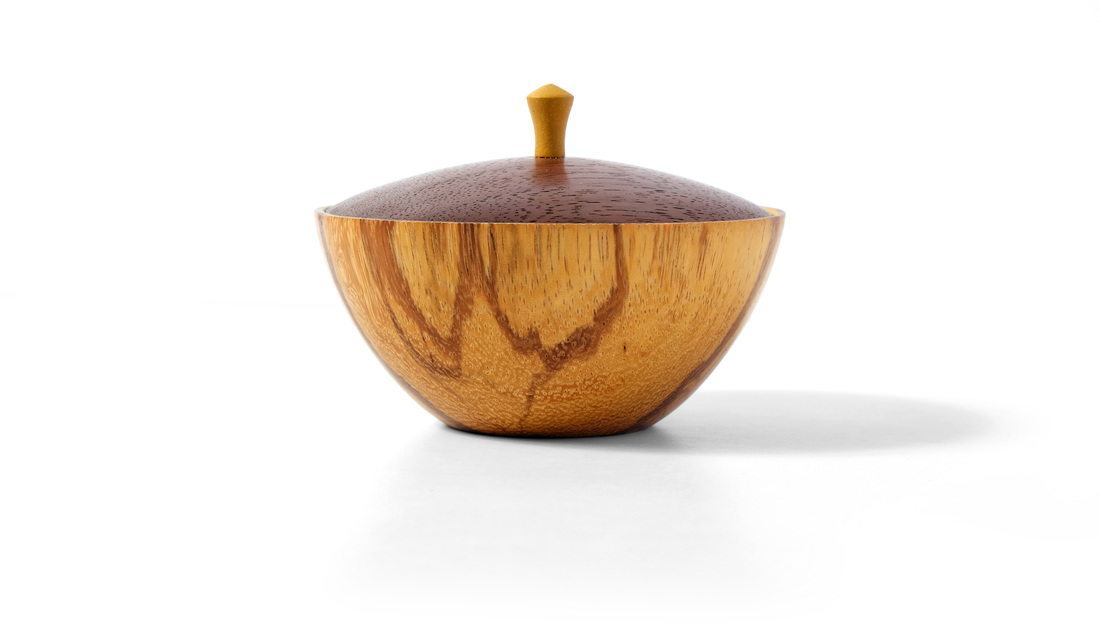  This week brings another sugar bowl (box 41 was the first). It's turned, giving it a more elegant look. I took inspiration from a variety of Japanese pottery I've seen. In particular, the shape of the bottom was informed by some small tea cups that I own. It's a beautiful shape. Fortunately, the bold lines running through the wood do not struggle against it. The wood is marblewood, which I've not used before. It's a tropical wood from South America (the northeast region, I believe), and this is heartwood. It's quite striking. It works fairly well, about the same as cocobolo. Because this box is meant to hold sugar (or salt), I painted the interior with marigold yellow milk paint, a non-toxic finish. I also happen to like the contrast between the wood on the exterior and the paint on the interior. It was the painted interior that led to the lid's design. It sit down in the bottom, so that about 1/16 in. of the side is visible above it. I thought that the yellow would create a delightful separation between the bottom and lid. I like this idea, and I'm pretty sure I'll return to it before I've completed all 52 boxes. Picking the wood for the lid wasn't too hard. The brown lines running through the marblewood immediately suggested walnut. Those lines tie the chocolate brown lid to the lighter, almost almond, brown of the bottom. This is a good example of using woods that compliment rather than contrast with one another. To determine the lid's arc, I quickly sketched out the body on some paper and then tried out several different arcs for the top. A low, relaxed arc seemed to work best. One last note, about the lid. The underside is hollowed out a bit. I thought this would be more delicate and elegant than leaving it flat. I didn't decided on the pull until after I had turned the lid. I typically use a third wood for my pulls (cocobolo being a favorite, along with apple). When the lid (or drawer front) is a dark wood like walnut, I use a lighter wood for the pull. However, if I used a wood like apple and left it natural, I'd be introducing a fourth color into the box. Instead, I painted the pull to match the yellow interior. It's a preview of the surprise awaiting you when you take the lid off. As for the shape, it's reminiscent of every pull I've ever turned. I think it goes nicely with the curves of the box body and lid. Of course, there must be random thoughts.
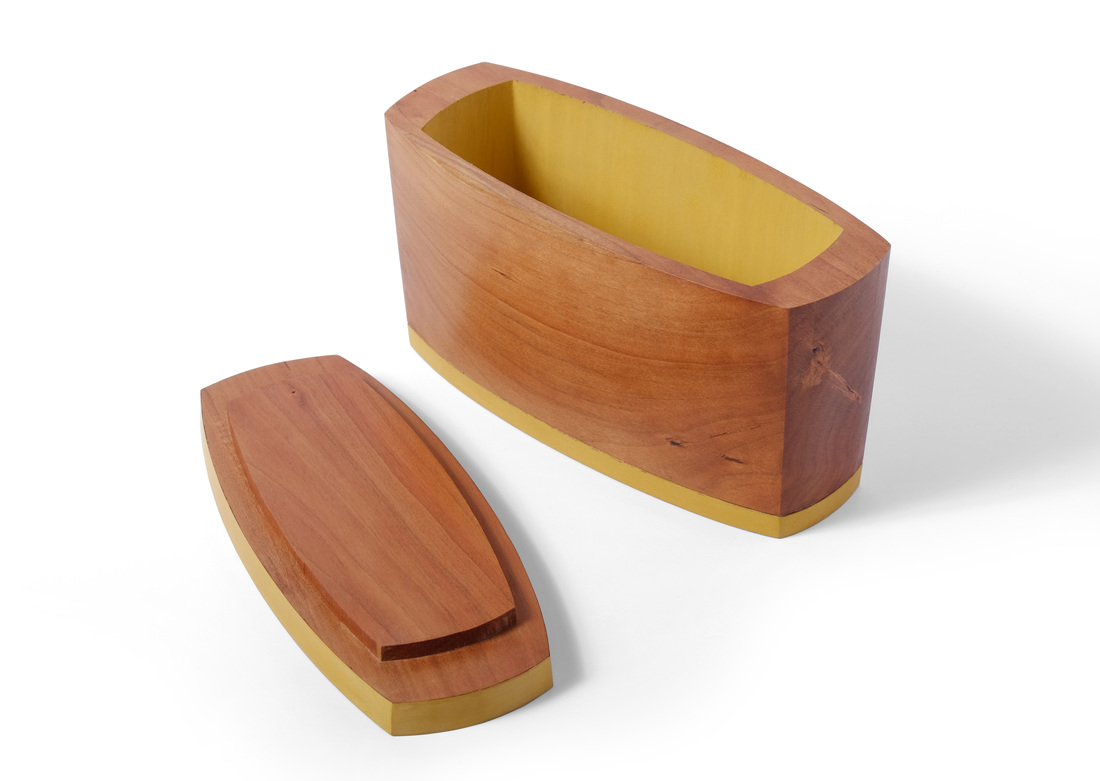
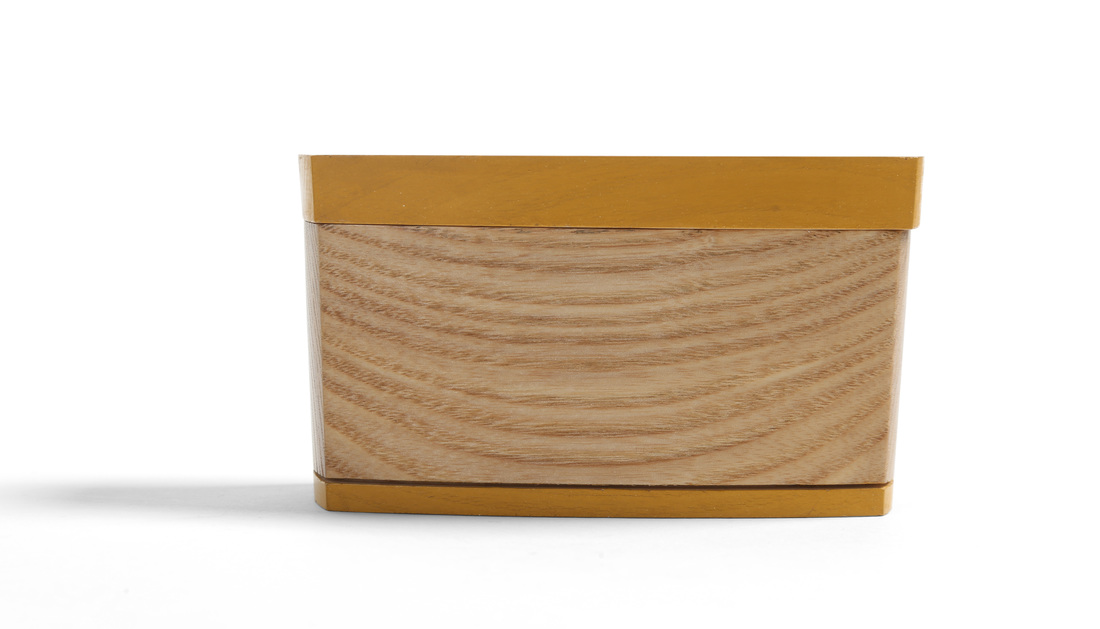
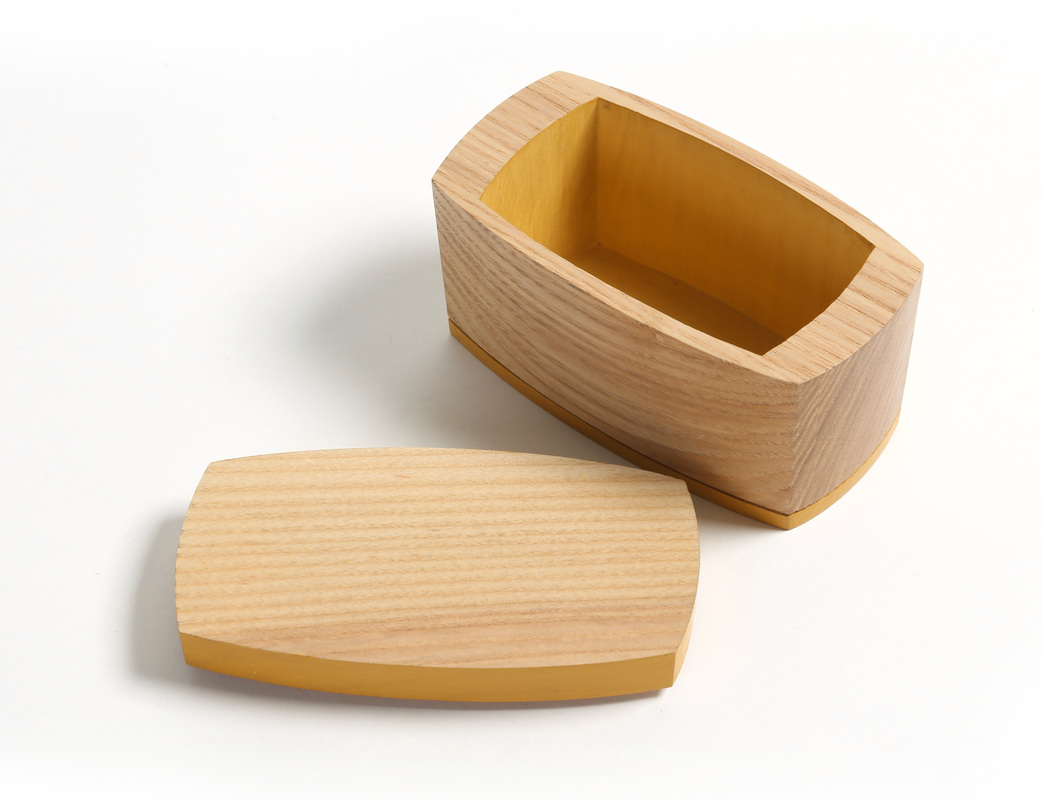
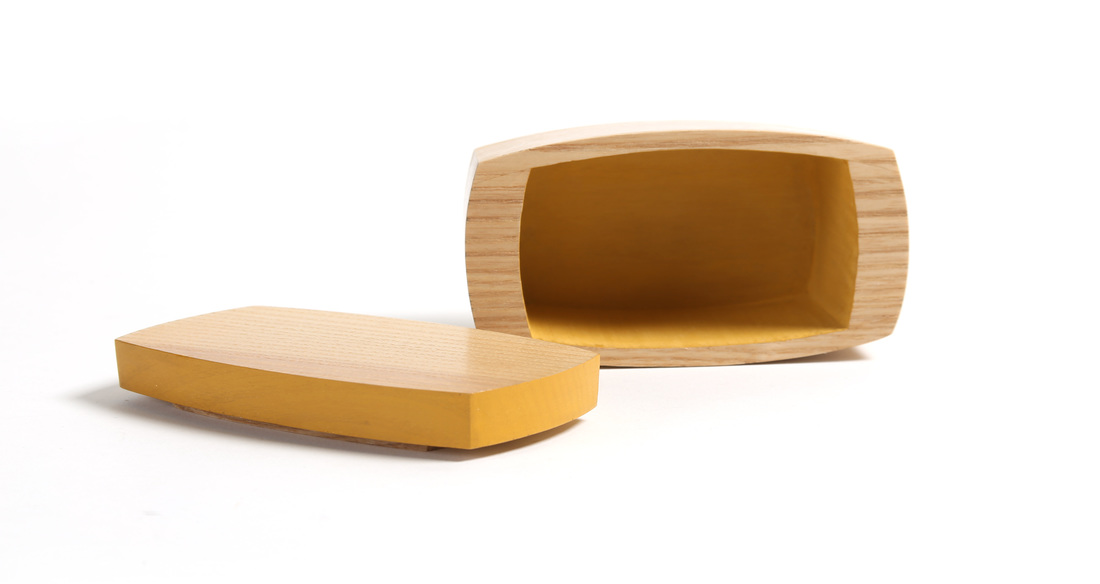
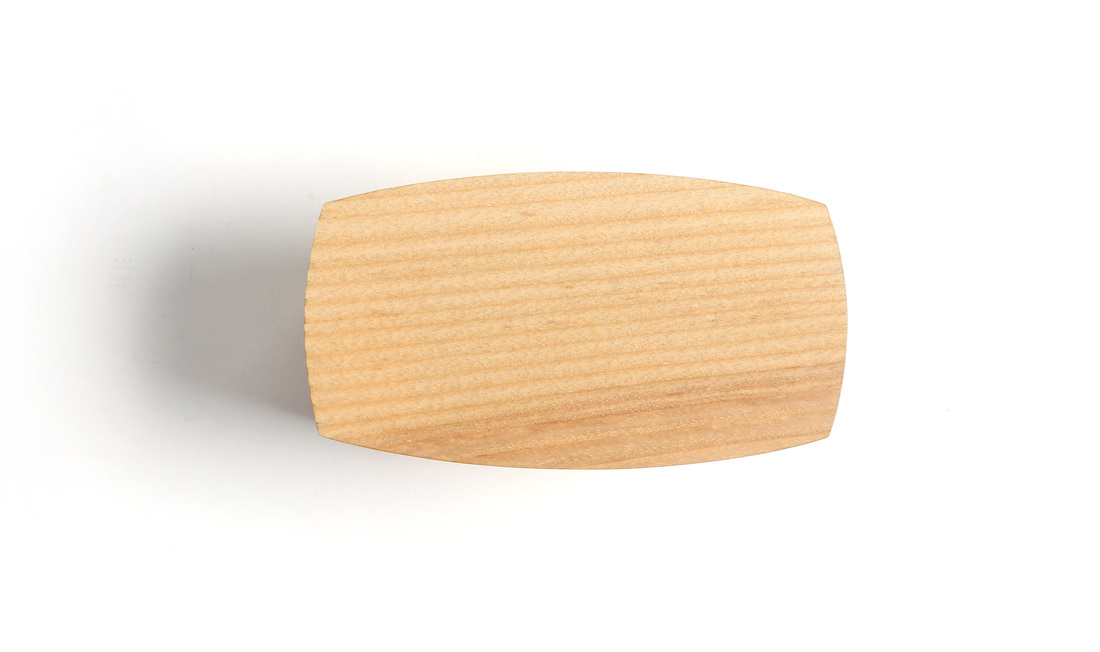
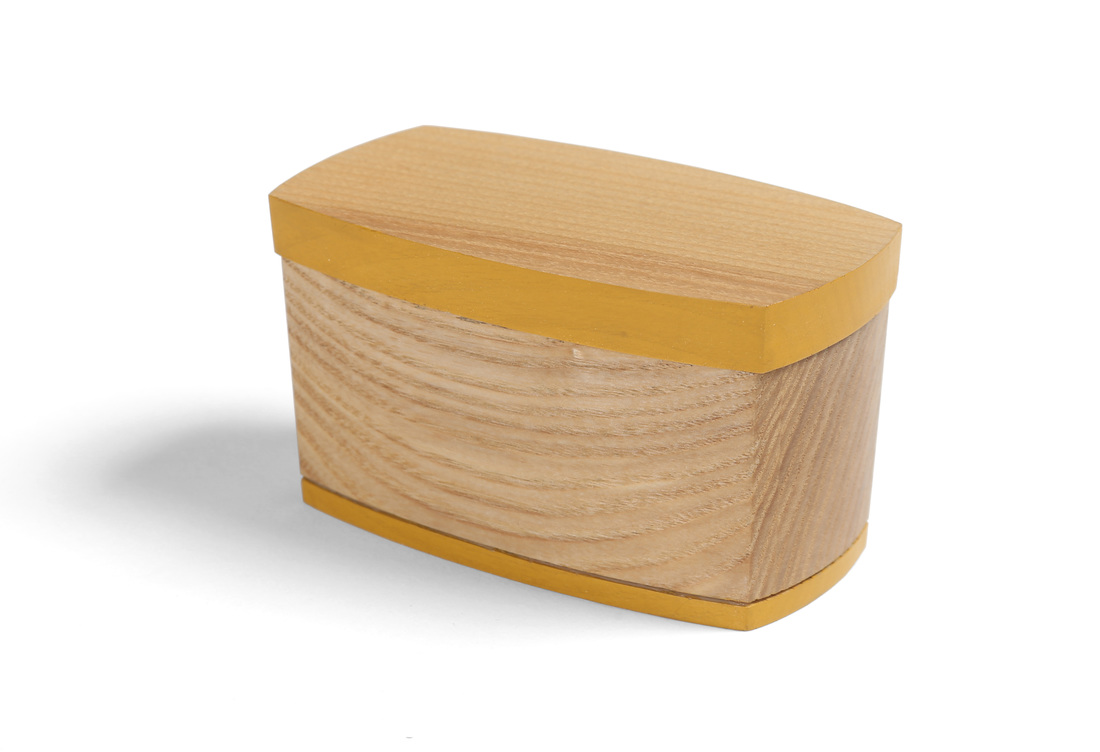  It took longer than I expected, but I finally made a bandsaw box using the techniques set out by Michael Cullen in his recent Fine Woodworking article. What's cool about his take on the bandsawn box is that he tilts the bandsaw table so that when he cuts the interior of the box, it's narrower at the bottom than at the top. The waste created is tapered, and can later be used to make a plug that becomes a seamless bottom for the box. This solves one of the biggest problems with bandsawn boxes: The blade removes material and when you glue everything back together, they really don't fit together quite right. You get gaps, misalignments, and the like. Cullen's technique overcomes the kerf. It's awesome. Of course there is something far more awesome about his boxes: They are freaking beautiful—lightyears beyond every other bandsawn box that I've ever seen. Technical wizardy is always admirable, but aesthetic brilliance trumps it every time. So, I tilted the table about three degrees for this box and cut out the inside first, leaving the outside square (just as Cullen does) for the glue up. However, my plug didn't fit back into the box very well, due, I am sure, to my inadequacies as a craftsman. There were gaps, and I did't want that. But like a lightning bolt, box 41 came to mind. For that box, I used a piece of plywood (with shopsawn veneer on it's bottom face) for the bottom. I rabbeted it's top edge and then glued it to the bottom edges of the sides. It struck me that I could do that here, too. Using this style of bottom solved the kerf problem as well. More importantly—at least for me—the box looks like something I designed. That's what I like about this box. It's significantly closer to being a box that fits into my aesthetic domain than the first two bandsawn boxes that I made (boxes 9 and 16. See the picture at right). Cullen's technique partly explains that. The flared body (a consequence of tilting the table) adds elegance to the slightly arced sides. But it's also due to my willingness to chuck the notion that a bandsawn box has to be made by gluing all the parts back together. In this case, I've thrown out the bottom, and created a more refined box in the process (by this I mean it's more refined than the box I would have made had I used the plug for the bottom). I don't have to play by the bandsawn box rules when I'm making one. You don't either. The result is greater conceptual and aesthetic freedom. I'm now much further down the road to making bandsawn boxes that are truly mine. This might seem a grandiose conclusion from such a simple little box—and it might seem sad that it took me so long to figure out that I don't have to play by the rules—but throughout my life I've found that profound insight comes from seemingly innocuous tinkering (be it philosophic or mechanical in nature). The most valuable truths, the ones that are elegant, simple, and far-reaching, are the hardest to find. Like your nose, they are right in front of you, but damn near impossible to see. It takes a moment of true clarity and vision to see them. And now that I understand this simple truth (one that I took for granted in other contexts, but not this one), I believe that I'll be able to tame that foul beast, the bandsawn box. I suppose that what I'm trying to say is that it's not really the case that I learned that I can break the rules. What I realized is that the bandsawn box is not as limited as I thought it was. I was still getting tripped up by the technique. Well, I now see that I can monkey with that technique more than I was already and still have a bandsawn box. That's the revelation. It's a redefining of what makes a bandsawn box a bandsawn box. OK, some random thoughts.
|
AuthorI love furniture design, and smart techniques. This blog is about both. Archives
August 2020
Categories |

 RSS Feed