
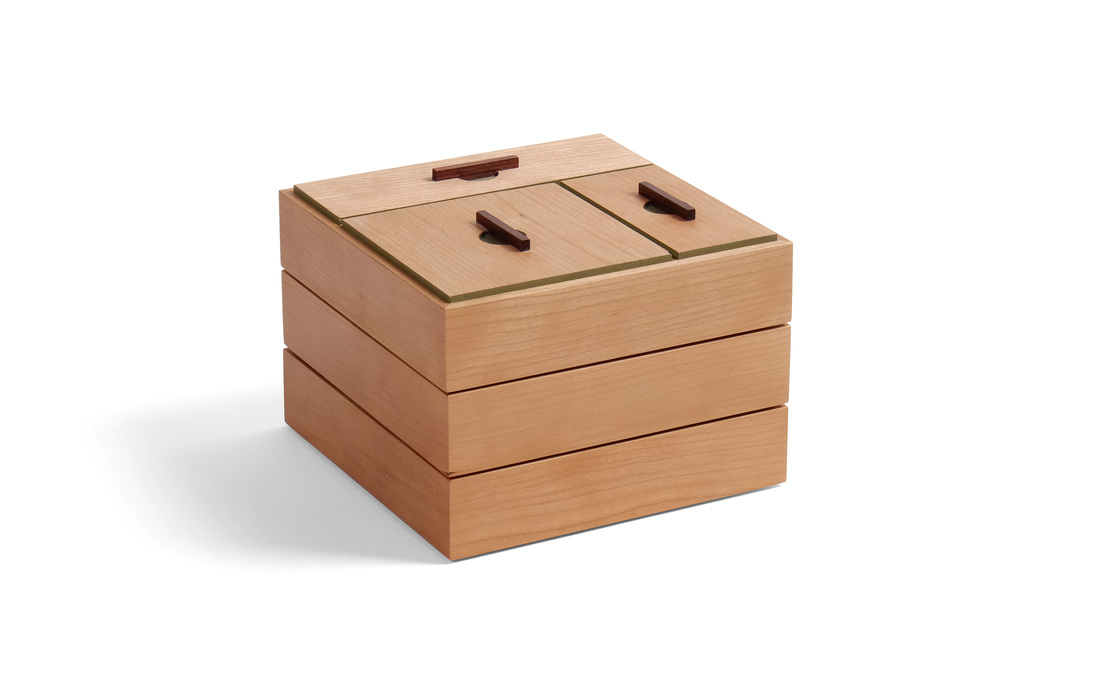
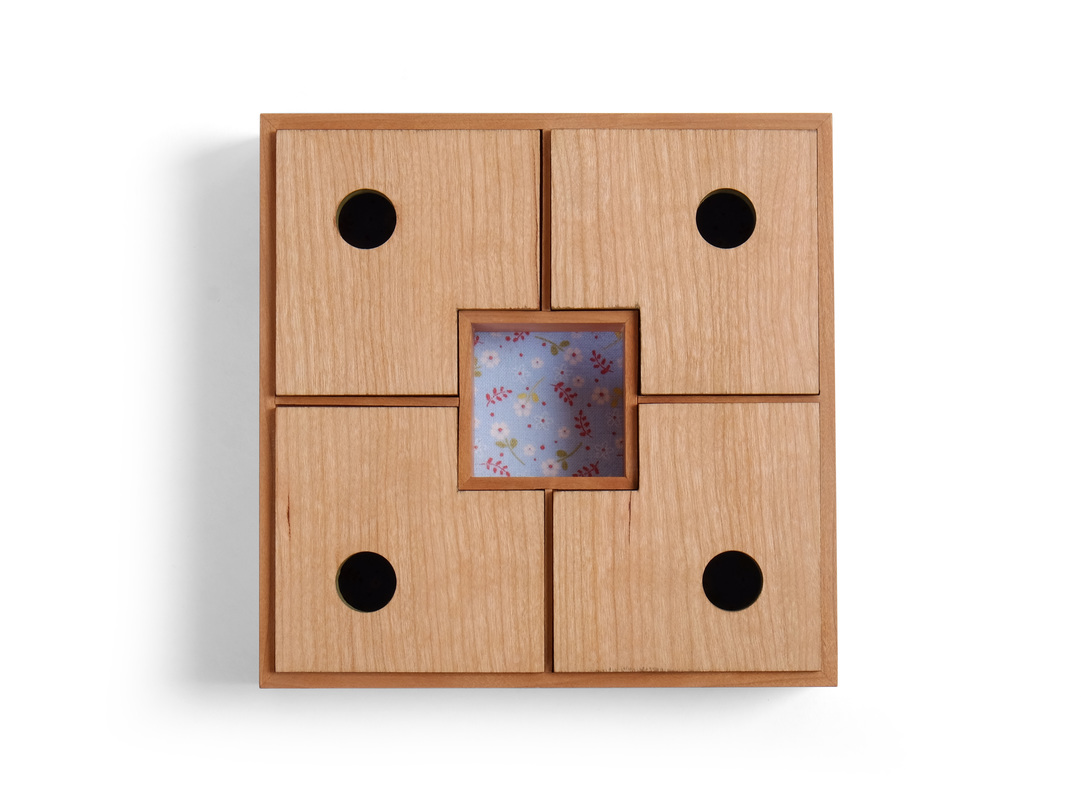
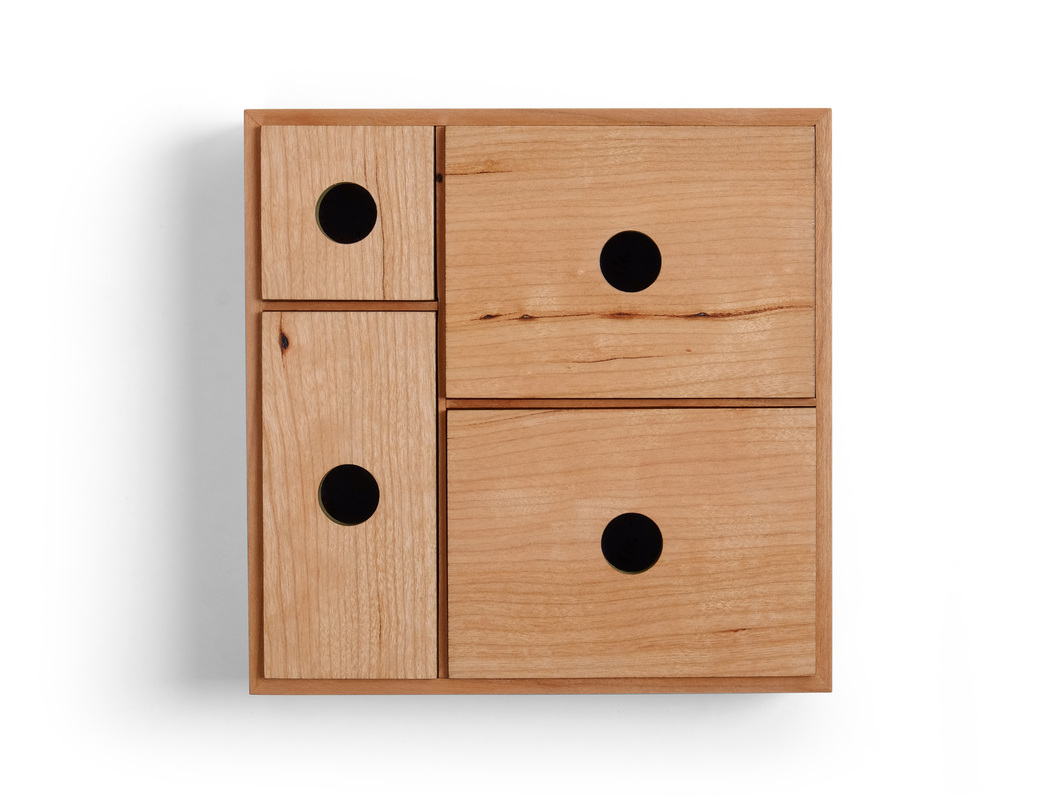
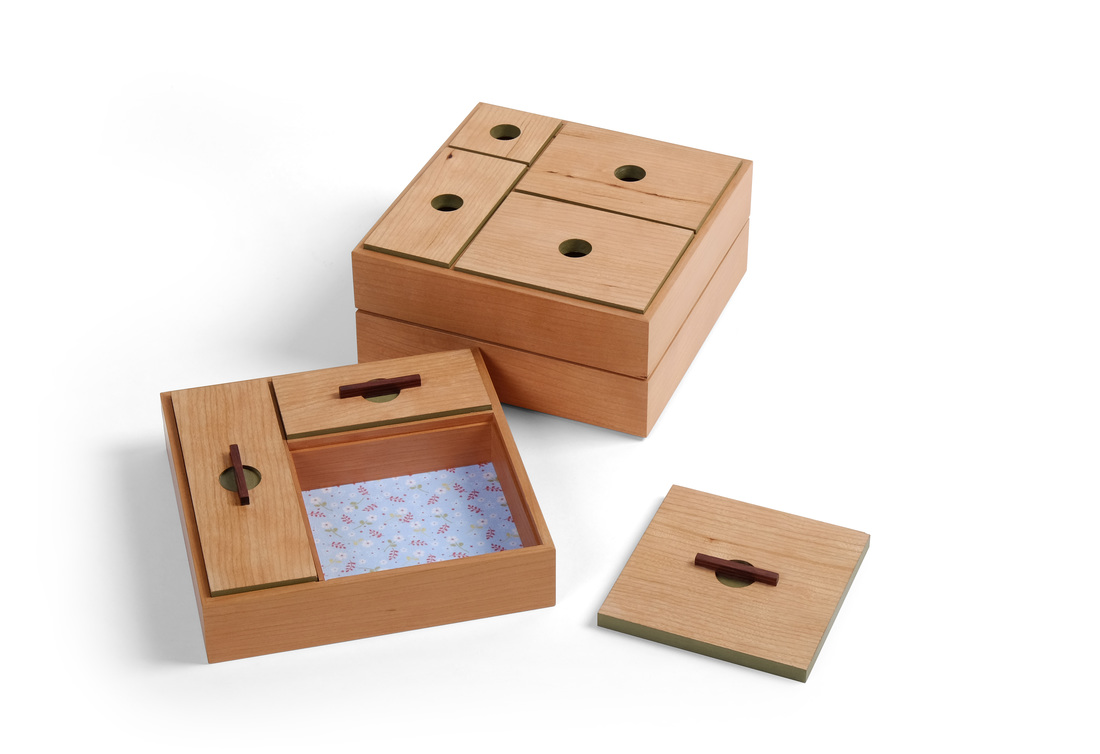
  Box 52. Done. And that's all I have to say about that. Kidding. I always have plenty to say. This is another stacking box, like box 49, but I changed the shape from rectangle to square, taking box 48 as my starting point (I really like box 48). I think box 49 is too tall, so this time I made the sides 1 1/4 in. tall instead of 1 1/2 in. I know it's impossible to tell from these photos, but the lower height is an improvement. I also like the square format for the boxes. (I'm actually excited about designing more square boxes in the future. I can't believe I never tried a square box until No. 48.) The biggest benefit of the square is that I had more latitude in dividing the boxes into compartments. For the top box, I used the same arrangement as I did for box 49. For the middle box, I added a compartment. For the bottom box, I added another compartment, but not another lid. A square compartment in the middle of a box with others wrapping around it: I've had this arrangement in mind for years. I finally said fuck it and gave it a try. It wasn't as hard to do as I feared. I did not use a lid for it because I wanted a pop of color in the middle and I thought the fabric would be cooler than a painted lid. Here's something I don't like: Dumb figure holes on the two lower boxes. They suck. As I was working on this box and running through all the different ways I could make a pull for them, I was getting bummed out because I thought that I just wasn't able to design a good pull for them. The problem is that the bottom of the box above sits on the lid of the box below, so the pulls on the box bellow must be flush with the lid. That's a tough constraint to work with. However, I realized that the problem wasn't really a design problem. It's an engineering problem. I needed to change how the upper box sat on the lower box. I've figured that out now, and the next time I build a box like this (soon, I think), I'll be able to have pulls that are at least a bit proud of the lid. Then, I'll be able to design a lovely pull for the lower two boxes. So, some progress was made. I think that's all I have to say, so let's here are the customary random thoughts.
17 Comments
Dane
4/29/2016 11:24:03 pm
Congratulations Matt !! 5/1/2016 11:15:21 am
Matt,
Matt Kenney
5/2/2016 02:12:26 pm
Freddy,
Jon Spencer
5/1/2016 09:24:01 pm
I have enjoyed your box series. Hard to believe a year has gone by, but in that time, I have started a box. Perhaps this time next year, I will have completed it. Congratulations.
Matt Kenney
5/3/2016 10:26:42 am
Jon,
LH
5/2/2016 10:02:21 am
Congratulations! And for the record, I do read it. Just not every day. 5/2/2016 01:44:11 pm
Matt, well done. This box has been inspiring from the 'git. I've enjoyed the pictures and the design aesthetic throughout. +1 on Freddy's comment about a box book. I'd buy it today if it was available.
Jerry
5/4/2016 08:43:49 am
Matt,
Chris joyce
5/4/2016 07:19:28 pm
Matt,
An old lady
5/6/2016 10:18:01 pm
Matt. I love your boxes...but then again, I'm an old lady.
Matthew Kenney
5/7/2016 06:45:41 am
Nothing to apologize for. I'm one too.
Jeff Moore
5/14/2016 10:15:31 pm
Congratulations Matt, on completion of your year-long project. I've been following along since Box 1. Have to say, your work has really inspired me, and got my own creative juices flowing. Your craftsmanship is top-notch and I appreciate you sharing your thought/design process for all these beautiful objects. FWIW, my top-5 favorites are:
Jeannie Littleton
5/20/2016 09:08:53 am
I have followed your journey for the last year, and you have inspired me to up my game. I have been making small boxes for the past four years and sell at craft shows and art walks, and I have to say box 51 is a work of art! Looking forward to your next challenge.
Michael
5/27/2016 11:20:34 am
Matt, I enjoyed your thoughts and writing nearly as much as the boxes (and I love the boxes). 2/27/2017 06:13:56 pm
I have been looking for box making inspiration and boy have you just delivered Matt. I wish I had the patience to do a box a week. Your comment will be posted after it is approved.
Leave a Reply. |
AuthorI love furniture design, and smart techniques. This blog is about both. Archives
August 2020
Categories |

 RSS Feed