
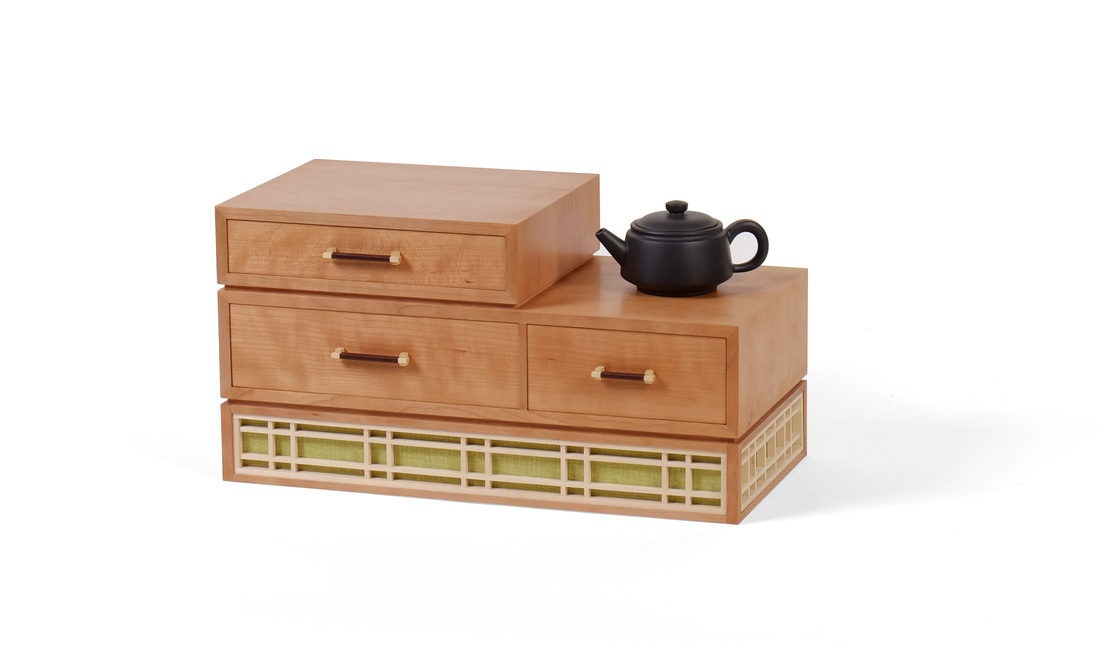
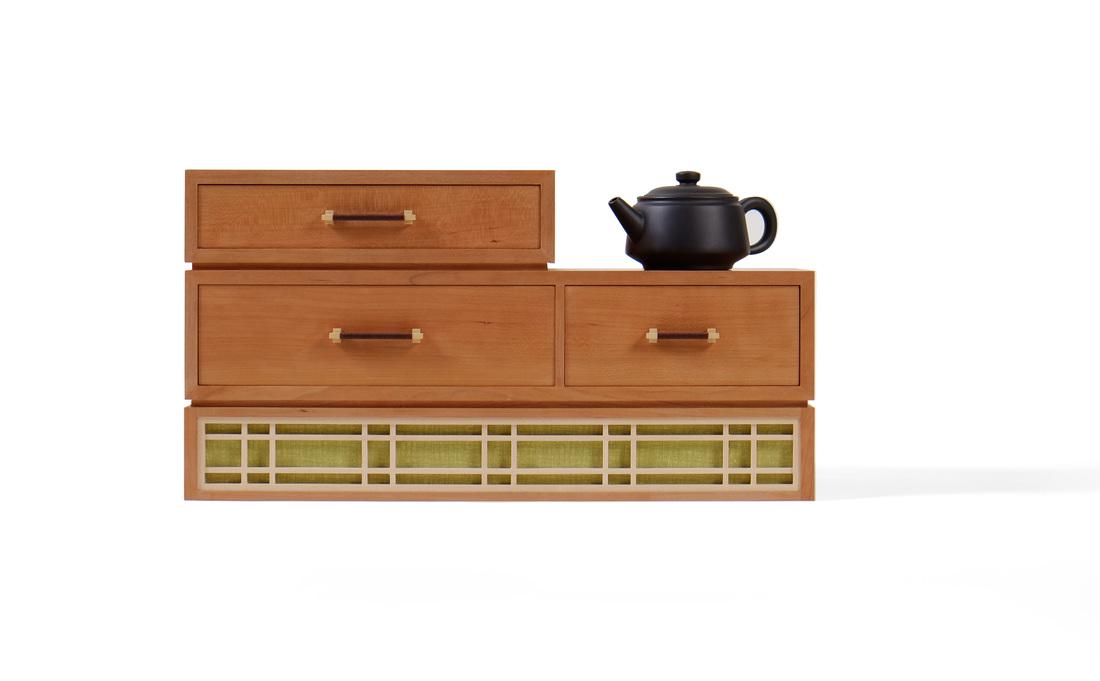
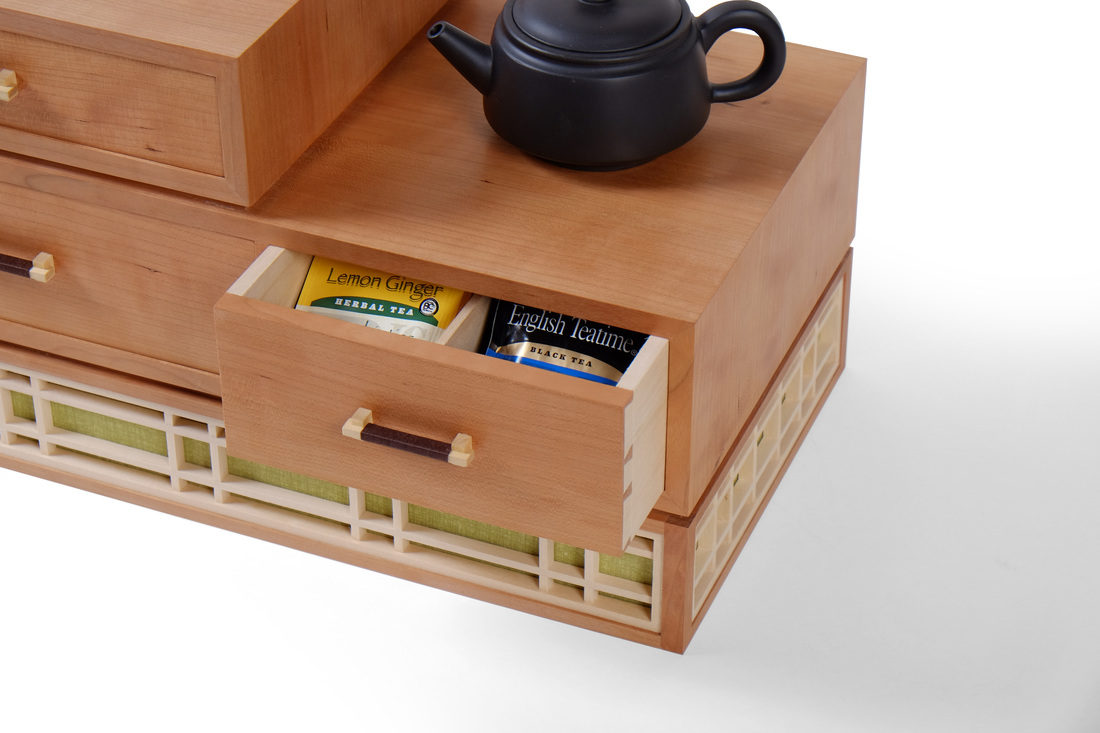
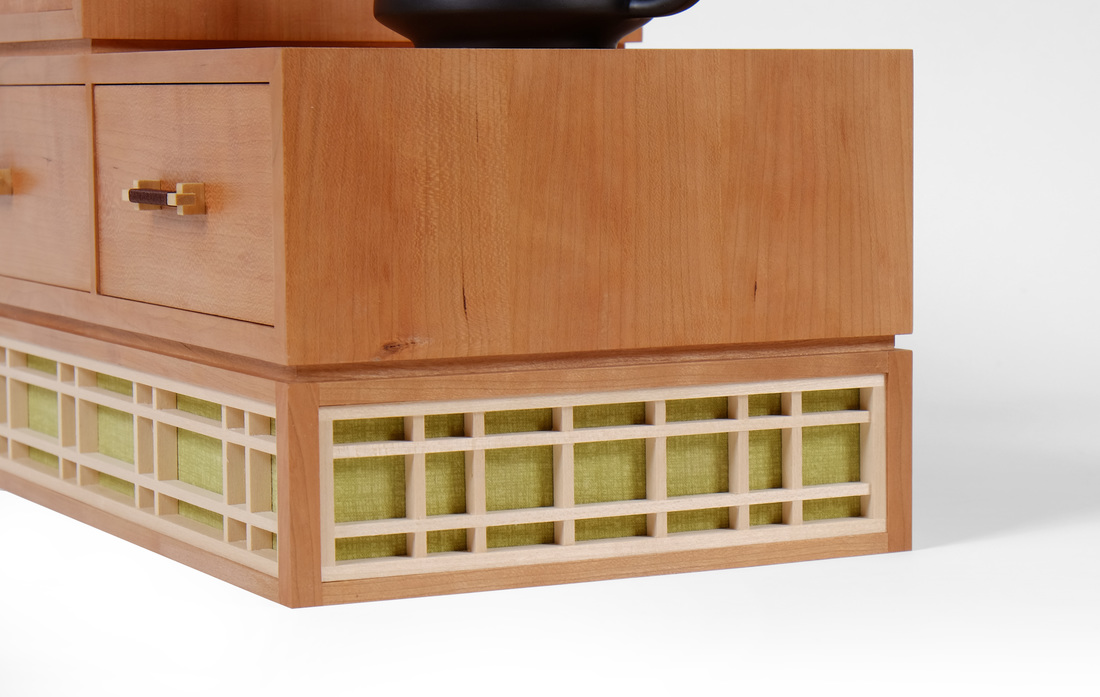
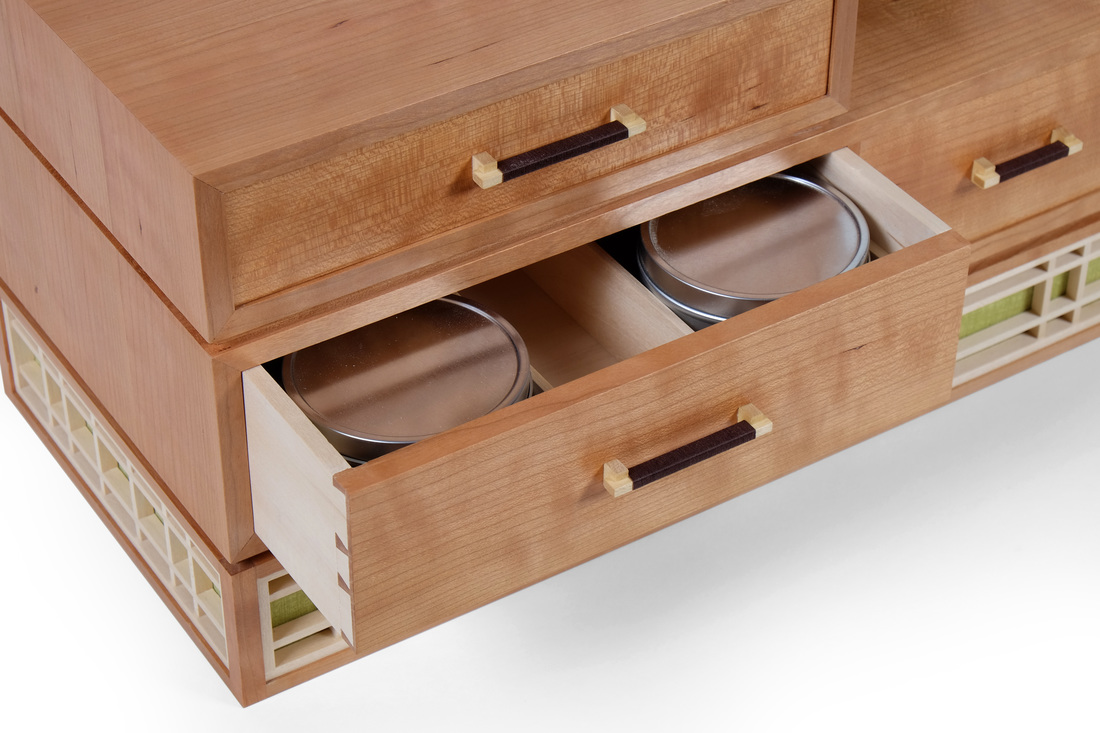
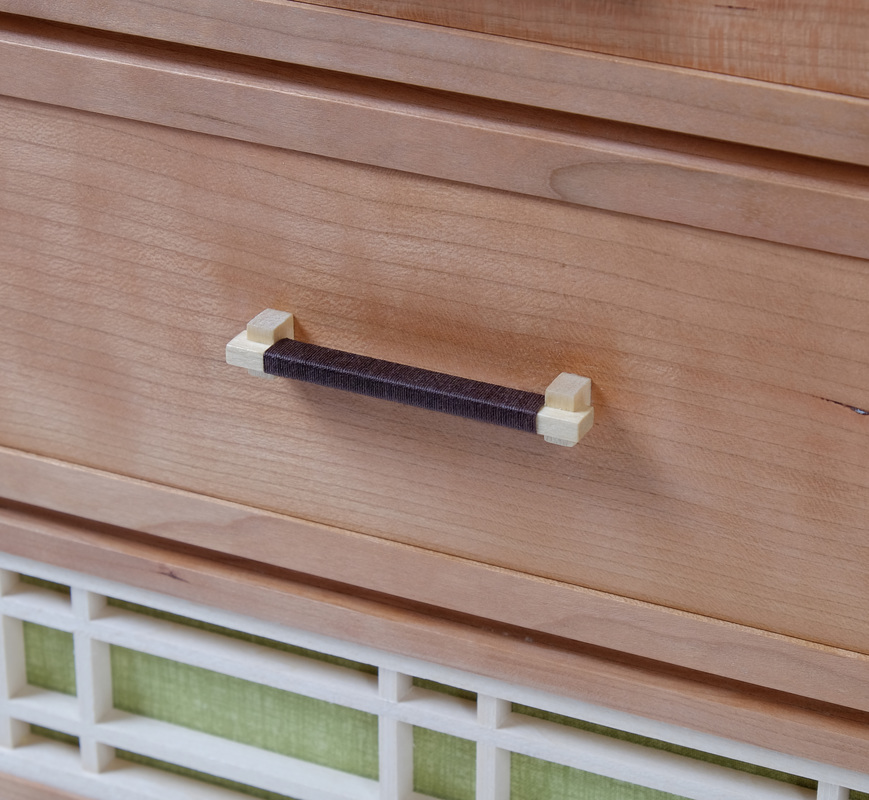
  I really wish this was box 52, because it brings together so much of what I've been doing for the past year that it's the perfect culmination for the 52 boxes project. This is certainly the best box I've made so far. (Actually, box 52 is already done, so I think it's the best of all the boxes, too.) Hell, it's almost certainly the best piece I've ever made. But it's box 51, so let's skip the overwrought nonsense and get doing what needs to get done. The base is a good place to begin. The idea for a base like this one came to me one day while Mike Pekovich and I were driving back from lunch (sushi, I think). If I remember correctly, we were talking about kumiko and all the things you could do with it. Out of nowhere an image came into my mind, and I said, "I could make a box with a tall base and have kumiko wrap around it." I'm not sure what I had in mind then, but I was confident that it would look cool. OK, so what was I thinking when I got around to developing the idea into an actual box? Well, the first thing I tackled was how tall the base needed to be in order to get a nice looking kumiko pattern into it, and how that would affect the size of the case on top of it. I sketched out rectangles stacked on top of one another and experimented with different heights for them. A base that was slightly shorter than the "box" on top of it but as taller or taller than the uppermost "box" looked right to my eye. (How's that for some solid design advice? Well, actually, it's pretty damn good. Sketch, mother fucker, sketch.) What you end up with is a base that is tall enough for some nice kumiko to fit into it, but not so tall as to dominate the piece as a whole. There's a harmony between the three levels even though the base is visually striking. That's what I'm always after: Something that has a lot of graphic punch but that isn't unbalanced. So, after I figured out that business, I sketched out ideas for the two rows of drawers. I wanted a space on the right hand side for a tea pot or some such thing, so I made the top row just a single drawer. The bottom row, I knew from previous experience with thin parts, couldn't be a single drawer. Thin parts like these tend to sag when they're longer than about 10 in., so I split the bottom row into two drawers. The wider one is 10 in. and the smaller one is about 7 in. wide. This told me that the top drawer should end in line with the wider bottom drawer. (Sometimes I think that I should explain how I knew this. I suppose I could by saying that it just looks better than if the top drawer were not as wide or wider. But this explanation doesn't cut the mustard with the philosopher in me. After all, why does it look better? Then we must get into a discussion of beauty, the roll of proportion, symmetry and asymmetry in beauty and all manner of abstract nonsense. Fascinating for sure, but definitely not practical. But then again, I have a gut feeling that it's just instinct.) Oh, I suppose I could explain that the width of the drawers are a result of determining how much space I would need on the right side to put a small tea pot or some other little piece of pottery. Based on some pieces that I own, I figured 7 in. would suffice. Some sketches told me that 10 in. on the other side would look nice. From there is was a matter of determining how tall the bottom drawers needed to be so that they could hold loose tea (left side) and tea packets (right side). The top drawer is for pennies, acorns, and tales of adventure (hat tip, Saint Orange.) OK, so what about the kumiko pattern? I wanted something geometric but not so crowded that it would obscure the fabric behind it. That meant a lot of negative space. I wanted two horizontal kumiko pieces between the frame and spaced them asymmetrically (more space between them than at the top and bottom) to let the fabric show through more prominently. The vertical pieces are done in pairs, because, well, I knew that it would look better than to do them individually. (Of course, there was some sketching involved, too.) The vertical pattern for the front/back had to be different that the pattern for the sides because the front/back aren't a multiple (in length) of the sides. So, I started them the same on the ends (a pair of vertical pieces 1 in. from the ends and spaced 5/8 in. apart), but the sides just have two single pieces between the pairs at the ends. I divided the space between the two pairs into thirds because there are three pairs of verticals between the two end pairs on the front and back. How did I figure all of this out? Magic 8 ball and rum. Or was it rum, then magic 8 ball? And that's magic 8 ball, not magic 8 ball. There is so much else I could say about how I designed this box, but I need more time to dissect and then organize my thoughts. I will say that all of the cherry for this one came from a single 12/4 board. I resewed it to create 3/8 in. thick boards from the edge grain. I then glued up three of these new boards to create the panels for the sides. These boards ending up being mostly quartersawn and heavily figured. Hell, the entire 12/4 board was heavily figured, even on the flat sawn faces. I hate figure. It's a pain to machine and plane, and can be distracting. And I think folks lean on figure as a crutch to make otherwise shitty design somewhat attractive. It works OK here, though, because the design is good. (When it comes to ego, the Egyptian pharaohs had nothing on me. I'm better looking than Clooney, too.) Well, I'm beginning to wander, so here are some random thoughts.
11 Comments
Jerry
4/29/2016 11:08:38 am
This box is gorgeous. It could quite nicely fit into a museum display. Better still, it could be used and appreciated on a daily basis by a tea-loving friend.
Matt Kenney
4/29/2016 06:24:05 pm
Jerry, 4/30/2016 10:28:38 am
Really gorgeous boxes, Matt. Very inspiring for woodworkers in progress such as myself! I have two questions. Are those half blind dovetails true half blinds or through dovetails with veneer on the draw fronts? Also can you tell me the maker of your coveted Japanese chisels?
Matt Kenney
5/1/2016 11:36:15 am
Greg,
John
5/2/2016 07:03:37 pm
Beautiful boxes, especially #51. Any chance of getting plans for that one?
Matt Kenney
5/3/2016 10:24:22 am
John, 5/3/2016 02:22:00 am
In what issue of FWW were there these boxes covered. Especially box # 51.
Matt Kenney
5/3/2016 10:25:10 am
Hal,
Matthew Kenney
5/3/2016 11:05:25 pm
Best comment on my entire blog. I'm glad someone got the reference. One of my all time favorite albums.
John Wood
5/7/2016 07:51:02 am
Amazing work! Hopefully this set will serve as an inspiration to me (and I'm sure others). Your comment will be posted after it is approved.
Leave a Reply. |
AuthorI love furniture design, and smart techniques. This blog is about both. Archives
August 2020
Categories |
 RSS Feed