
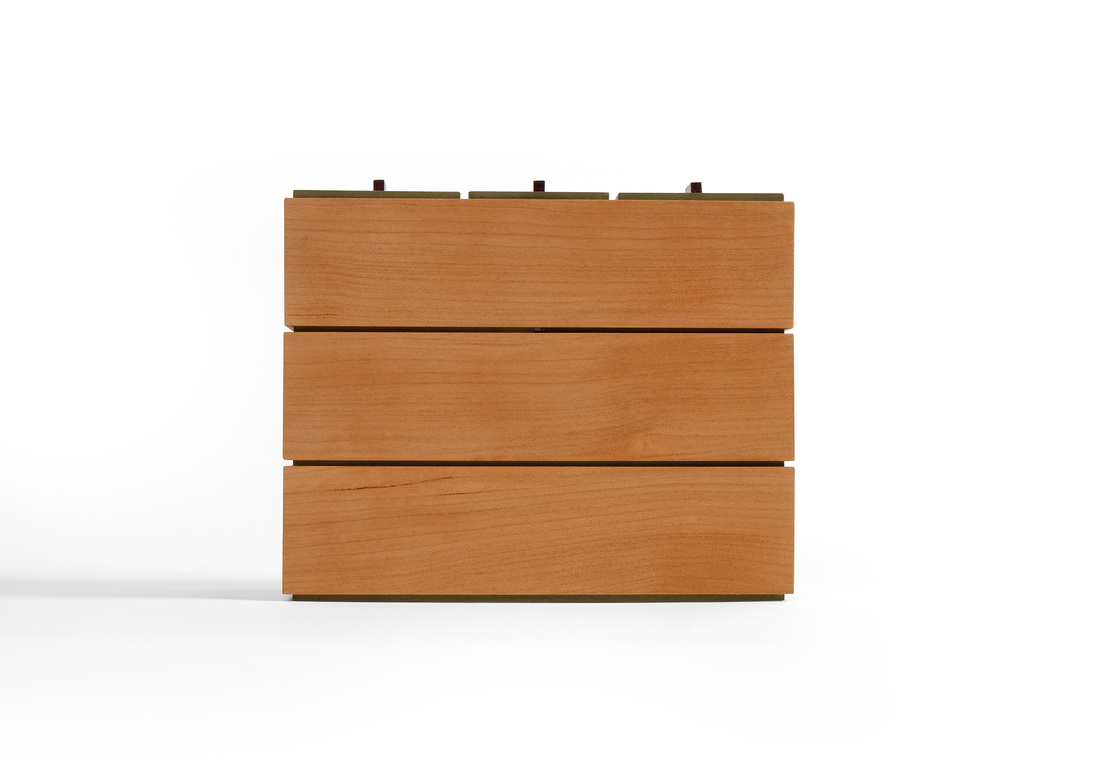
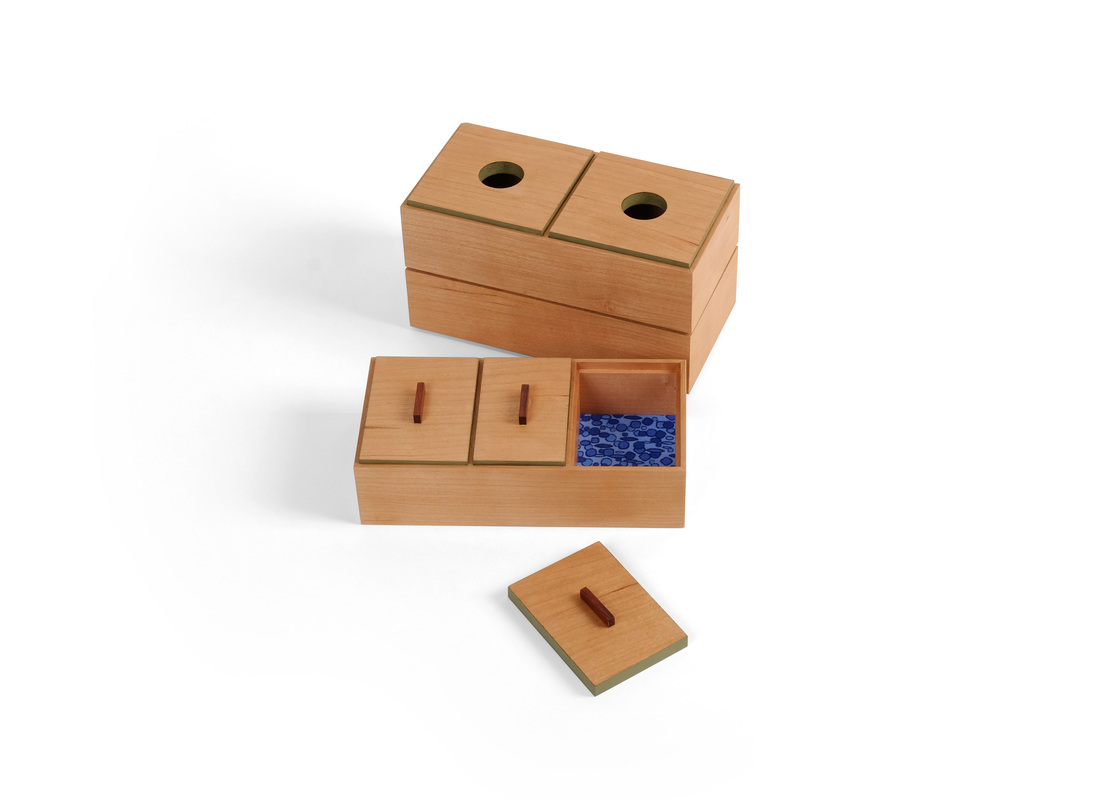
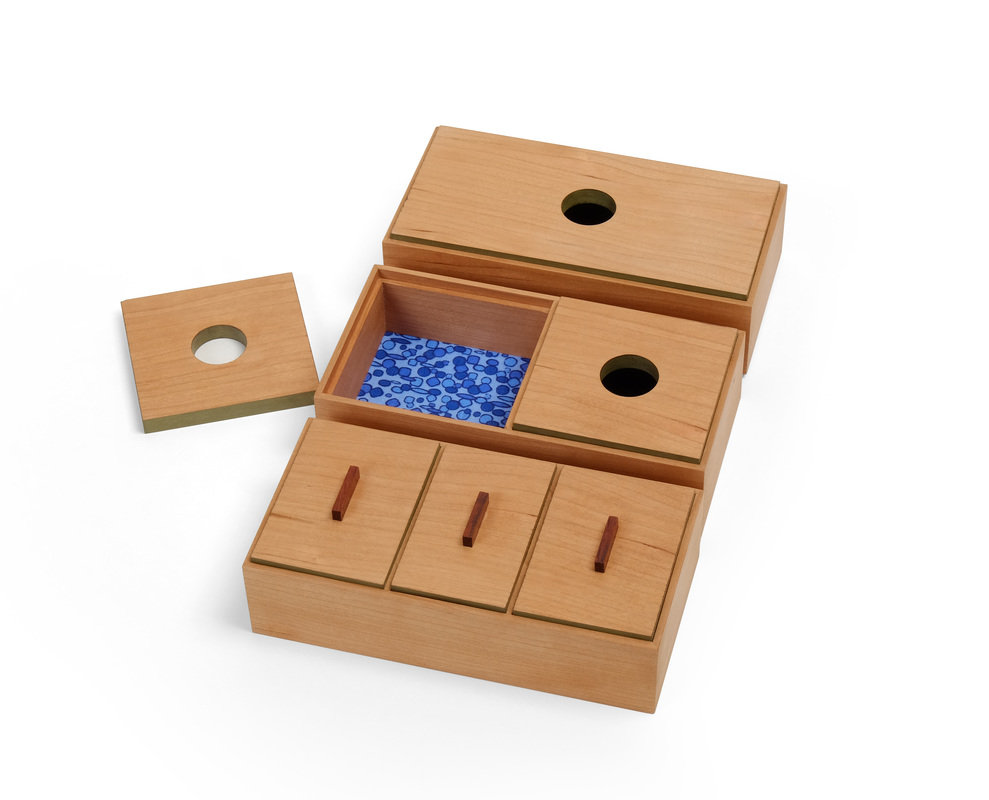
  I made this box and the last box to experiment with a few ideas before bringing them together in a third box, which will be one of the last two I make for the 52 box project. With box 48 I was working on how to join two thin dividers. Here, I’m testing a theory on how to stack boxes. Perhaps you can decipher where I’m heading, but I won’t say anymore now. Let’s get to the box at hand. Unless your vision is as poor as my friend from the North, Bubbles, you will have noticed by now that this box is actually three boxes that stack one on top of the other. The idea for it came from a conversation I had with Mike Pekovich some time last year. He was telling me about a box (for lack of a better term) that he had seen at a museum. It was carried by a samurai. There were a few boxes that stacked on top of one another and were held together by leather (or fabric) straps. It hung from a belt and was used to carry coins and other stuff. I suppose it was something like a stacking bento box. It sounded very cool and on the spot I decided to make a set of stacking boxes. I just had no idea how to do it. A short time later I realized that many of the boxes I had been making in the 52 box project lent them selves to stacking because I was using a rabbet in the top and bottom of the sides to hold the lid and bottom. If I made two boxes with the dimensions and cut identically sized rabbets on the top and bottom on both boxes, the lid for one box would fit into the rabbet on the bottom of the other box. And the lid for the lower box would capture the box on top of it, holding the box in place. This is how these three boxes stack. Of course, me being me, there had to be a shadow line between the boxes. So, the top two boxes have very thin bottoms, but not so thin that the box sits on the box sides beneath it. The lid of the lower box holds the upper box about 1/16 in. above. And there’s your shadow line. I like the shadow line here because it reveals that there are three boxes stacked rather than a single absurdly tall and narrow box. But that visual break between the boxes does something else, too. There is no grain match as you move up from one box to the next. I didn’t cut the sides from a wide board, in other words. This lack of match would have been noticeable had there been no space between the boxes, but it’s really not with the shadow line there. That’s a good thing. When planning this box I knew that I wanted each box to have a different number of compartments, but before I gave any extended thought to this, I kicked around different proportions for the boxes themselves. I finally settled on a rectangle that's twice as long as it it wide. To keep the stacked boxes a reasonable height, I made the sides 1 1/2 in. tall. After deciding on a fairly narrow rectangle, I knew that a divider along the boxes length wouldn't be practical, because it would create two long and very narrow compartments. So, all of the dividers run across the width. After that it was a fairly quick trip to a box with one compartment, one with two compartments and one with three. The compartments for the top box are not all the same size. The one in the middle is narrower. Why? Because cutting dadoes for the dividers in exactly the right location to end up with three equally sized compartments would be crazy hard. But cutting dadoes to make the two outside compartments the same size with a smaller (or larger) middle compartment is a snap. So, that's what I did. (I know this leaves a big question—why is that true and how the hell did you do it?—hanging unanswered, but I beg your pardon, I never promised you a rose garden. There was also the decision about which box would go on the bottom, which in the middle and which on top. There is an argument for going three, two, one from the bottom up. However, a box with one compartment is a solid foundation because it's unbroken. So, it went on the bottom. The box with three compartments looks like three little boxes next to one another, so it went on top. And that's all I have to say about that. Once again, I've blathered on. Here are your randoms for the week.
11 Comments
Jerry
4/18/2016 11:57:20 am
I really like this set of boxes. It can be arrayed or stacked, and the arithmetic progression of dividers appeals to my OCD. You mentioned a conversation with Mike Pekovich that got me thinking -- for which, I apologize in advance..
Matt Kenney
4/18/2016 09:52:17 pm
Jerry,
Mario
4/19/2016 11:13:01 am
That fabic bottoms are stunning! That 70ish pattern looks amazing, and the bright blue palette fits wonderfully with the color of the wood used.
Matt Kenney
4/20/2016 11:10:01 am
You're absolutely correct about how I do the bottoms. I glue the fabric to the top surface of the bottom with 3M General Purpose 45 spray adhesive. You can get it at home centers. I then glue the bottom into the rabbets and the rabbets do cover the edges of the bottom, so you get a very clean appearance. And thanks for the compliment!
John Jenkins
4/28/2016 02:39:30 pm
Now if you add the sloping sides, you'll end up with Xmas tree effect. Probably a step too far.
Jeffrey
4/30/2016 02:03:47 am
Matt,
Matt Kenney
5/3/2016 10:18:47 am
Jeffrey,
Ivy
5/3/2016 09:26:18 am
I love making boxes. My problem is I'm having problem with the size of the boxes. I hate wasting wood and don't have a good band saw for re-sawing. So the majority of my boxes are huge. What is the average sizes of your boxes?
Matt Kenney
5/3/2016 10:20:04 am
Ivy,
Paul Taylor
5/7/2016 07:21:59 pm
Very well done Matthew. I particularly like the scale of your boxes. Can you recommend videos where I can see the construction?
Matthew Kenney
5/7/2016 07:48:13 pm
I haven't done any videos on these boxes. Sorry. Your comment will be posted after it is approved.
Leave a Reply. |
AuthorI love furniture design, and smart techniques. This blog is about both. Archives
August 2020
Categories |


 RSS Feed