
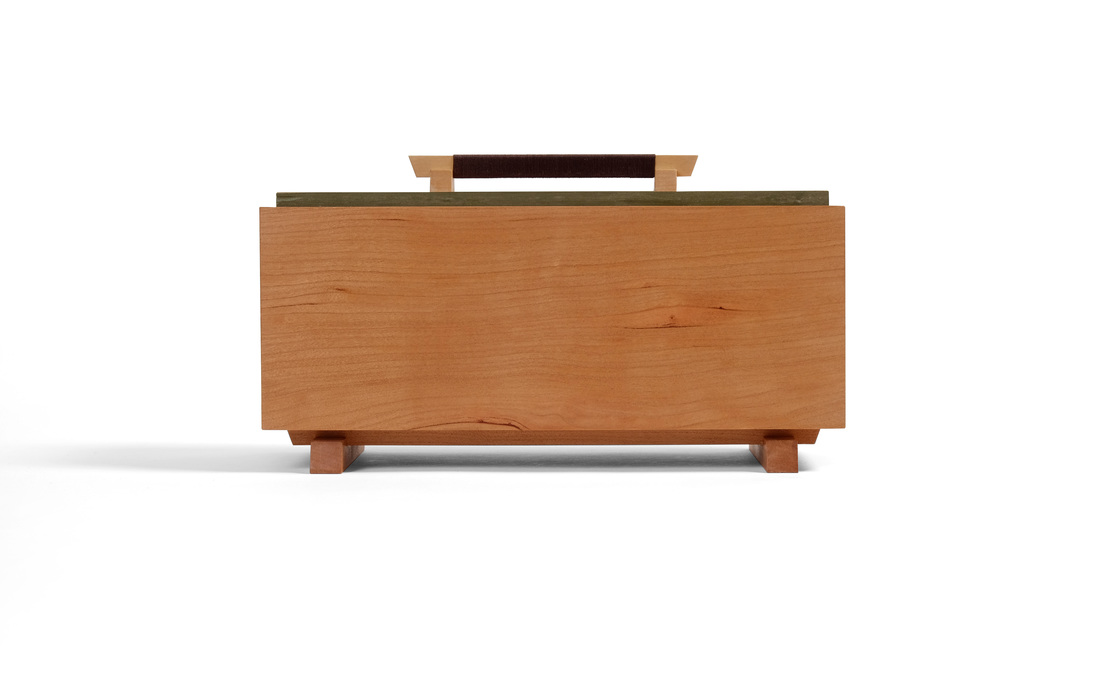
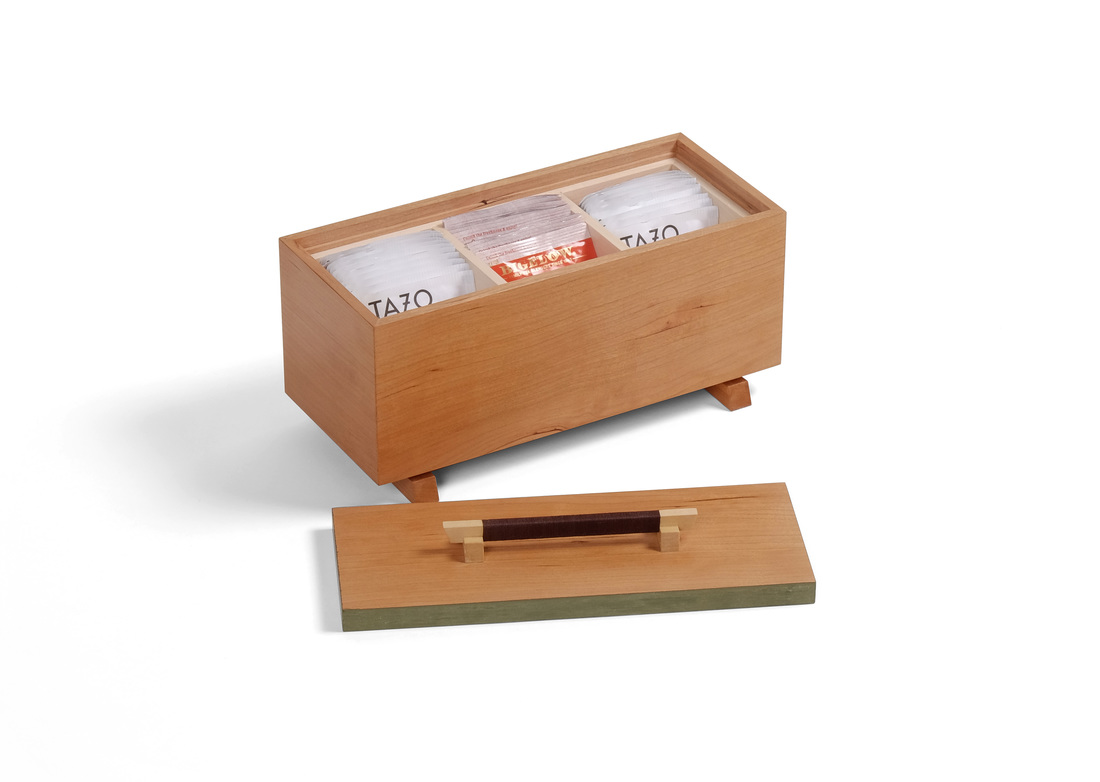
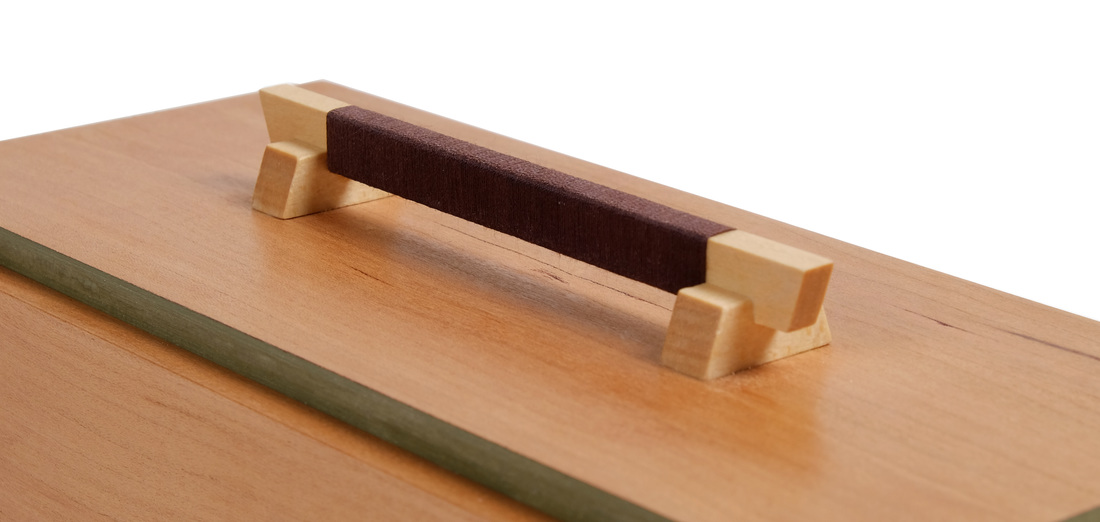
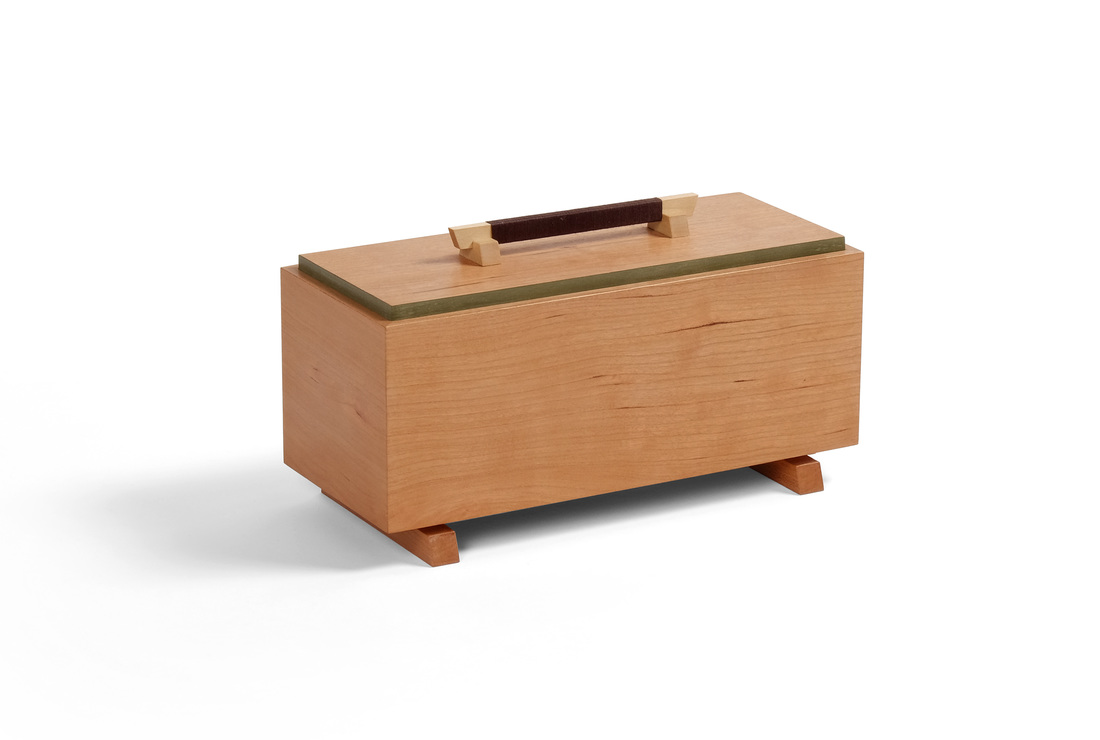
  This is the first of two boxes that I made using the same dimensions for the box itself (that is, not including feet, lids, pulls, etc.). I even made both boxes from the same piece of cherry. Why? I wanted to see how different I could make them. Next week I'll post the second box. Both boxes were designed to hold tea packets. I started from the known dimensions of a tea packet (and it's a common size) and worked out from there. There are three slots for tea. These are created by a liner that is dry fit in the box. After adding up all of the involved dimensions (side thickness, liner thickness, top/bottom thickness, width and height of a tea packet, etc.), I knew the width, length, and height of the box. From there is was a matter of figuring out how to give each box its own unique soul. The first two decisions I made about this box is that it would sit atop some type of foot structure and that I would not cut the sides apart to make a lid (as I did on box 30, for example). I tackled the lid first. I went with an old friend: The lid that sits down in a rabbet cut into the inside face of the sides. A lid this big would need a substantial pull. Last week, I used some cool thread wrap pulls on a large tea cabinet. I decided to adapt that pull style to this box. This pull is much larger (the horizontal bar is 4 1/2 in. long), which gave me enough meat to work with that I could bevel the ends of the pull and the ends of the feet. The bar and feet are made from basswood, and the thread is a brown embroidery thread (thicker is better for this purpose). I applied shellac to the basswood before wrapping the thread. I think the pull turned out quite well and it's a style of pull that I'll continue to explore and develop. For the sake of stability, I made the lid from plywood, gluing shopsawn veneers to the top and bottom faces. The veneers were cut from the same board as the sides. The plywood top also allowed me to glue the pull to the lid without any concern that wood movement might eventually pop the pull off. The edges of the lid are painted with a custom green milk paint. I don't know if I've ever explained why I occasionally paint the edge of lid. Here it creates separation between the lid and the sides. Without this bit of color, the lid and sides would simply melt into one another, because they're made from the same piece of wood. The color and grain match is perfect, and without the green you'd just have a big, indistinct blah. This little strip of color creates a border between the two, which allows the beautiful warmth of the cherry's color and its calm, but elegant grain really pop. The box is subtle and unassuming but still possesses a striking beauty. This approach appeals to me far more than slapping a wildly figured or super-contrasty wood on the box as a lid. (As I see it the dependence of figured and contrasting wood is lazy design.) After I figured out the lid and pull, it was easy to work out what the box would be sitting on. The feet are just a modified version of the pull. There are two long horizontal pieces and the feet are much longer, too. This design creates a balance between what's above and below the box. The bottom is plywood, which is important because the best (and most stable) way to attach the feet is to glue them on. However, if they had been glued to a solid wood bottom, the bottom's movement definitely would have either pulled the feet apart or caused the bottom to split. So, plywood it is. There's a shopsawn veneer on the bottom face of the plywood. And like the feet themselves, the veneer is cut from the same piece of cherry as the box and lid. By the way, the top surface of the bottom is covered in a very nice fabric. Sure, you'll never see it because of tea packets. But it's there for the occasional glimpse, to show that every detail has been carefully considered. Well, I think that's enough. Here are the random thoughts, which I enjoy writing even if no one enjoys reading them.
13 Comments
Jerry
3/20/2016 07:27:11 pm
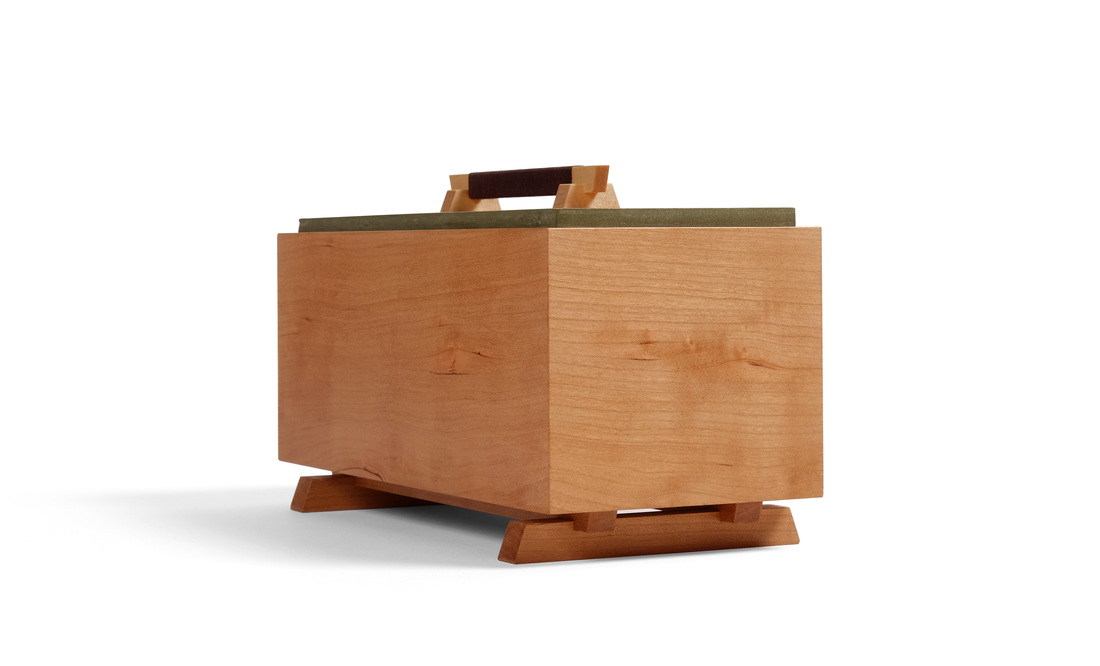
Very nice box. Its simplicity is the basis for its elegance. The feet and handle have a nice Asian post-and-beam look to them.
Matt Kenney
3/22/2016 02:48:07 pm
Thanks, Jerry. 3/22/2016 10:59:55 am
Hey Matt,
Matt Kenney
3/22/2016 02:47:44 pm
Shawn,
Warwick Finch
4/16/2016 09:27:15 pm
Hi Matt,
Matt Kenney
4/18/2016 09:51:05 pm
Warwick,
Warwick Finch
4/18/2016 10:46:52 pm
Hey Matt,
Barry Gloger
5/7/2016 07:28:36 am
This is the technique a sailor uses to WHIP the end of a rope, to keep it from unraveling or fraying. A search for Whipping Knot on YouTube found at least 20 demonstration videos - the first of which:
Barry Gloger
5/7/2016 07:39:02 am
I agree with random thought 3 - the square end makes the box too bulky for the beautiful lid and base. Perhaps if you changed the layout to 3 x 2 or even 4 x 2 tea bag compartments - get the box close to "Golden Rectangle" proportions.
Warwick Finch
5/8/2016 02:08:53 am
Thanks Barry, that's great advice. I'll get Youtubing straight away!
Barry Gloger
5/8/2016 10:02:07 am
Another Suggestion - Sailors used Waxed Thread for Whipping (and sewing) as it slides through sailcloth more easily, holds it shape and sticks to itself - thus making a tight wrap.
Matthew Kenney
5/8/2016 10:06:15 am
Barry,
Matthew Kenney
5/8/2016 10:07:25 am
Thanks for the tip. I knew it was a technique that had been around for ages but hadn't done the Google-foo to find it. Your comment will be posted after it is approved.
Leave a Reply. |
AuthorI love furniture design, and smart techniques. This blog is about both. Archives
August 2020
Categories |
 RSS Feed