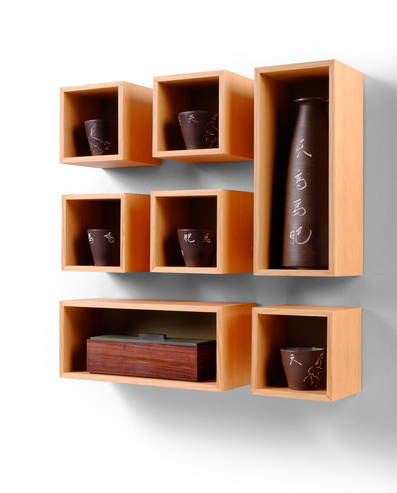
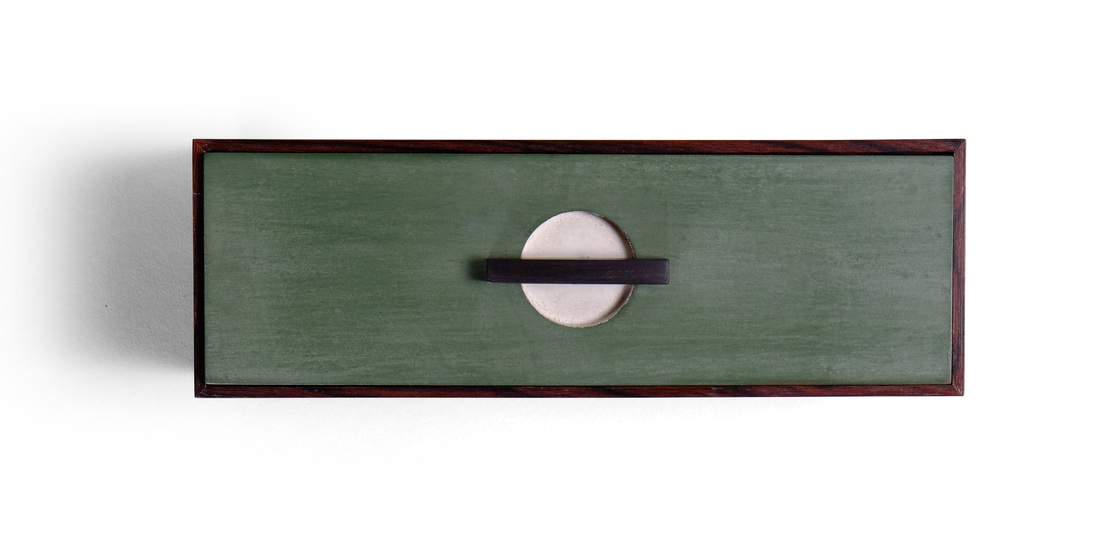
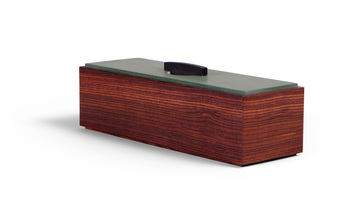
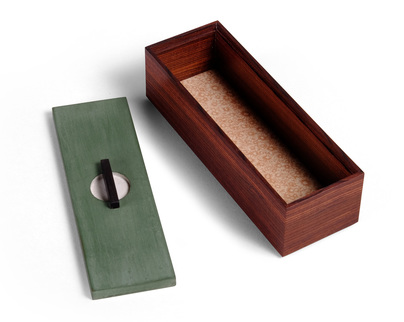
 I made this box to fit inside the rectangular and horizontal box in the set of wall-hung display boxes that I posted last week (box 32). The interior dimensions of that display box determined the dimensions of this box. And I knew it was going to be a simple box with a top sitting in a rabbet, and my standard bottom (plywood covered in shopsawn veneer and glued into a rabbet). But that's all I knew. There were important questions left to answer: What to do with the top? And what about the interior? And I had no idea what kind of pull I should use. But before I could answer those questions, I needed to figure out the box body first. I had the perfect piece of wood for it. This past summer when I was working at the Lie-NIelsen open house up in Maine, I began rummaging through the exotic woods for sale at the bench of Travis Knapp, who runs the eBay store RareWoodsUS. I found a 12 in. long blank about 1 3/4 in. square. I didn't know what species it was, but the edge grain was amazing: beautiful, tight, straight grain. And the color was fantastic, too. Travis said it was kingwood. I bought it, went back to my bench, then planed that edge grain clean. I feel in love. I'd been sitting on that piece, waiting for the right box to come along. This was the box. I knew that the wood's color would go great with the brown of the sake set. And the straight lines would compliment the vertical grain Douglas fir of the display boxes. I've never used an exotic wood for the body of a box—I prefer to save it for pulls and other small accents—but I'll have to try it again soon. If I can just find another piece of kingwood with grain like this! Knowing that this box would sit inside one of the display boxes helped me figure out what to do with the top: Paint it green. I used Lexington green milk paint, knowing that a darker green would stand out against the light green I used for the backs of the display boxes. And the dark Lexington green would compliment the rich brown of the kingwood. But the pull is really part of the top, and I had no idea what to do. So, I made and finished the box, painted the lid, and then set the lid in the display box as it hung on a small piece of drywall (temporarily, for photography). Mike was looking with me and suggested drilling a hole through the top and painting the inside edge created. "Paint it white," he said, "because the inside of the sake set pieces is also white." Good idea, I thought. He then said, "Make it a little round scoop instead of a hole." I took that idea and ran with it. The hole is shallow and has a flat bottom. I painted it with snow white milk paint. I then made a pull from ebony. The shape took a while. I fit the "tenon" part to the hole and then started shaping, putting the pull in place and taking a look, then going back to work on the shape. I like the final shape. It's low, so it doesn't overshadow the box, and the curve is very subtle. I shaped it all with a chisel and a rasp. And I really like the graphics of the rectangular green top with a white circle in the middle that's bisected by the thin rectangular ebony pull. For the interior, I put into play a suggestion made to me by another Fine Woodworking colleague, John Tetreault (he's a great designer and furniture maker, too.) We were discussing a group of 40 boxes (not part of this 52 box business) that I am making and he suggested that instead of painting the interior face of the bottoms, I should just glue some fabric to them. I liked the idea and decided to try it out here. I set the box over several different pieces (various colors, patterns, etc.) and settled on a piece that has brown flowers on it. It looks great. And glueing it to the bottom results in a much cleaner look than when I glue it to a thin foam pad. I'm fortunate to work with such great designers. I doubt I executed either Mike's or John's suggestion as they would have, but that's the way it should be. Well, then here are some random thoughts.
Jerry
11/13/2015 10:34:31 am
Like the Boyz say, "Do the stanky leg"!
Michael
11/14/2015 04:01:38 pm
I used the same idea for some pulls on some night stand and dresser drawers made from walnut. I ran into trouble using a forstner bit for the recess in the drawer face in that it left a pilot dimple. I filled the dimple, but always disliked that solution. Did you use a forstner bit, then fill and paint? If not, how did you manage a completely flat bottom?
Matt Kenney
11/16/2015 06:33:11 pm
Michael, Comments are closed.
|
AuthorI love furniture design, and smart techniques. This blog is about both. Archives
August 2020
Categories |


 RSS Feed