|
OK, before I get to the latest box, let me take a moment to point out that this is box 26. I'm halfway there. It's been 18 weeks since I posted boxes 1 and 2. I'm very happy, but also bit surprised that I've been able to crank out boxes so quickly. I'm also relieved, because I have some challenging boxes in the queue, and some might take me more than a week to make. That's OK now, because I'm well ahead of schedule.
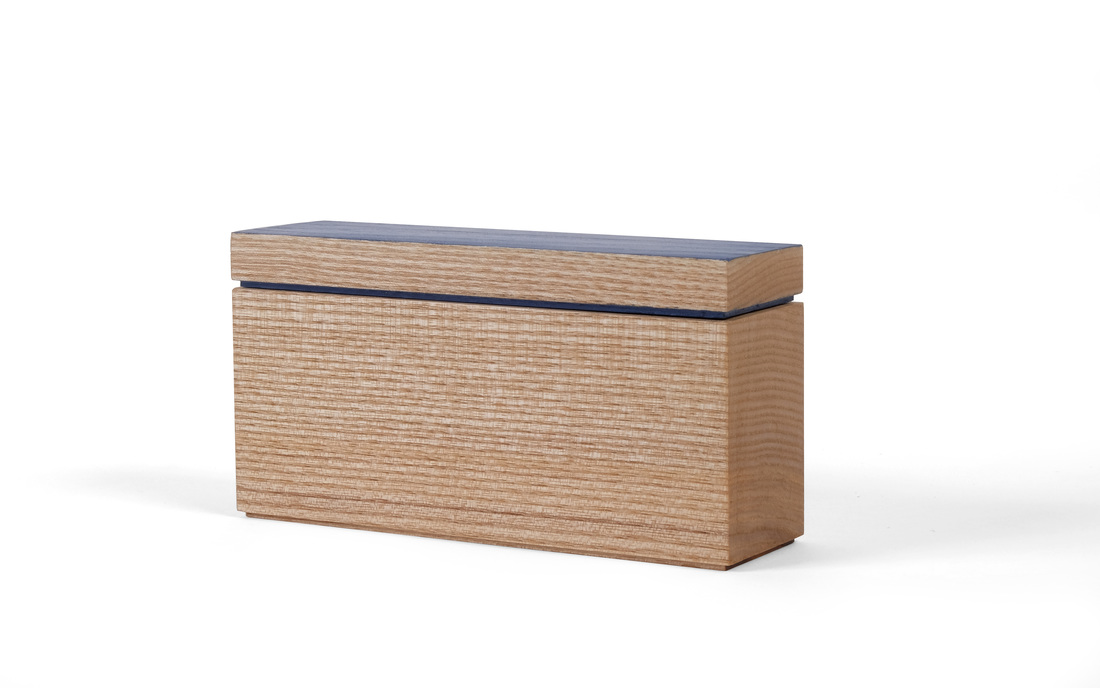
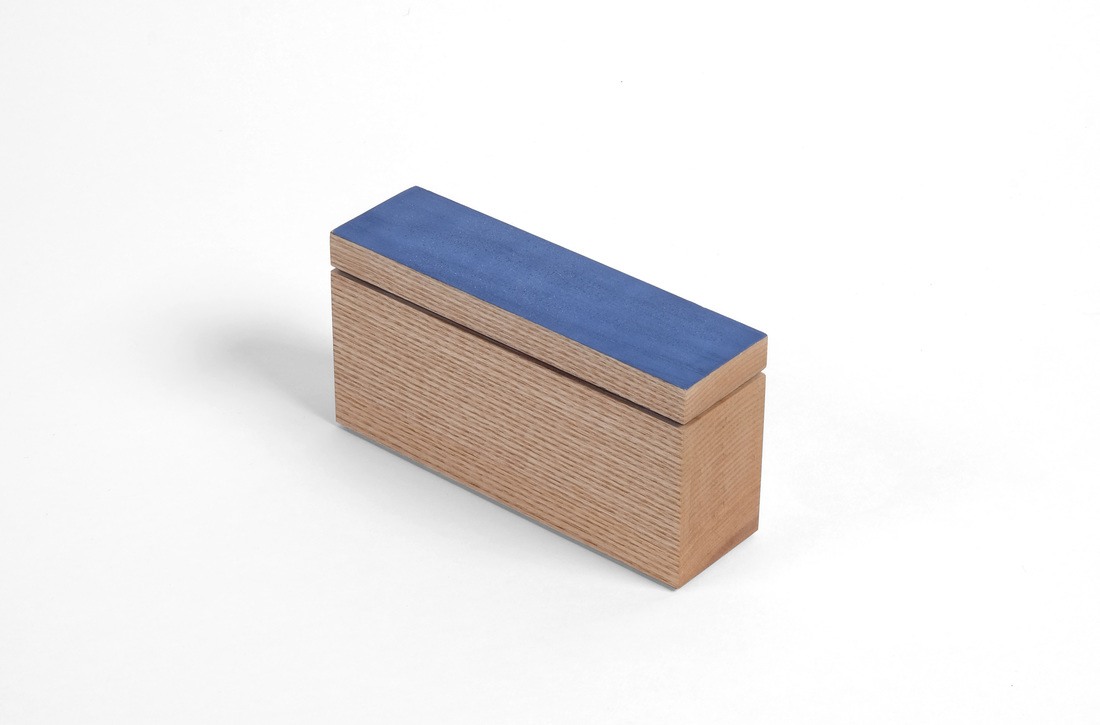
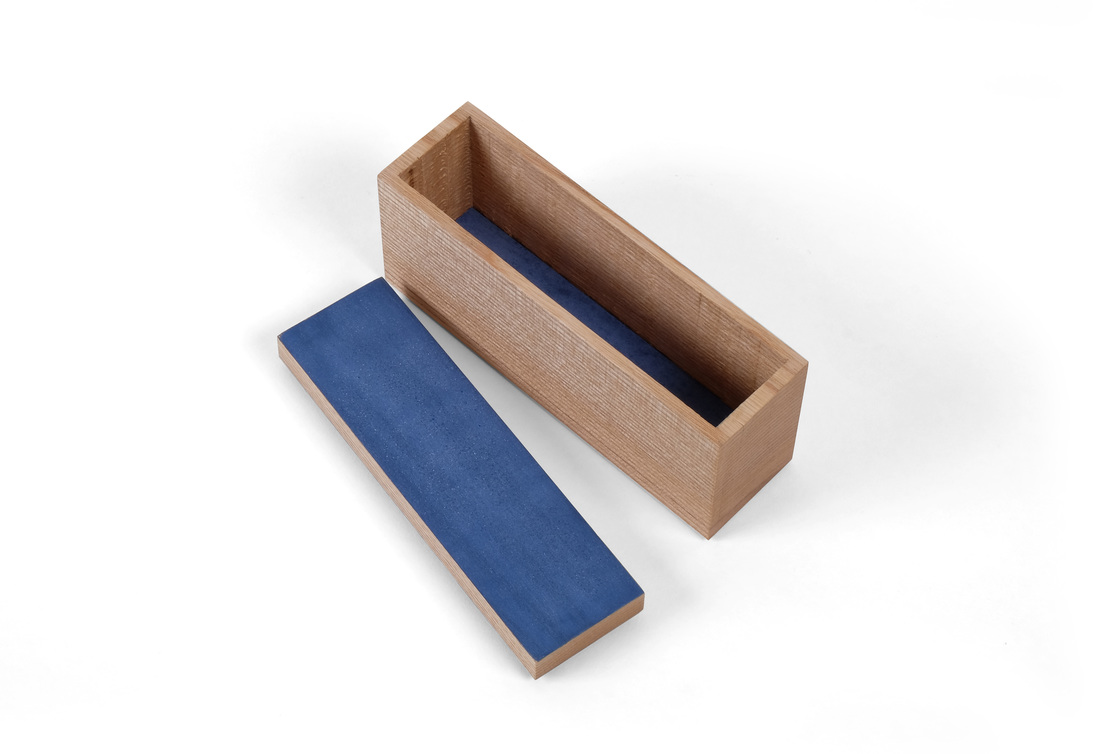
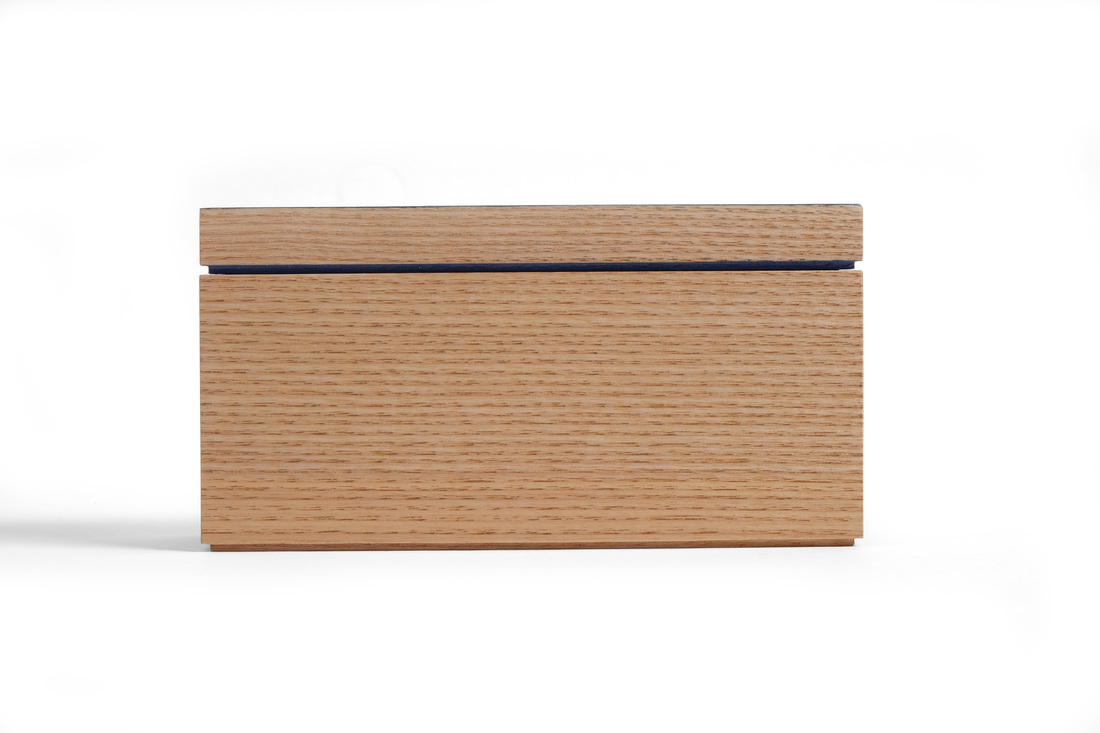
Well, let's get to box 26. Although it's not immediately obvious, I used a peculiar technique to make this one. Take a look at the end of the box. That's end grain. Not surprising. This could be a bandsaw box. But it's not. It's a hollow chisel mortiser box. I took a solid piece of ash, ripped off a slice to be the top and then headed over to the mortiser. I then mortised out the inside of the box. This could be one of the smartest things I've done in the shop, but it's more likely one of the dumbest. I suppose I'll find out after a very dry Connecticut winter. If it stands up to severe contraction and then some Spring expansion, I'll be happy. I think it will, but even if it doesn't it was still fun to make. It took all of 3 minutes to hollow out the box and that's pretty cool. This particular piece of ash is an offcut from the ash I used to make turn this little hollow form vessel. I love the super tight and straight grain on the sides. The end grain is good looking, too. Because the ash is almost perfectly quartersawn, the top and bottom are flatsawn. The bottom doesn't matter much, because you never see it, but the top is another story. I didn't want some ugly flatsawn grain messing up this box, so I decided to paint the top before I even cut it free from the blank. I didn't chose the color (Federal blue) until after I had hollowed out the box. I like the blue here because it stands out against the slightly-brown creaminess of the ash. I also painted the underside of the top, so that the space between the top and box body would be more than just a shadow line. Speaking of the top, I rabbeted around it's bottom edge (the rabbet is the same size as the one around the box's bottom) to create the space between the top and box. I then glued a thin piece of maple to the underside of the top. This thin piece fits into the box and keeps the lid in place. As you can see, the underside of the top is also painted. If you've used a hollow chisel mortiser before, you know that the drill bit cuts a little deeper than the chisel. It leaves nasty drill bit marks. There was no way to get rid of them (without extensive and tedious chisel work), so I just cut a bottom from some thin maple, painted the top surface and then put it in the box. I was going to glue it in place, but when I was testing the fit, it got stuck, so I just forced it all the way down. If it falls out this winter, I'll glue it down. A few random thoughts.
0 Comments
Your comment will be posted after it is approved.
Leave a Reply. |
AuthorI love furniture design, and smart techniques. This blog is about both. Archives
August 2020
Categories |

 RSS Feed